brown butter oreo rice krispie treats
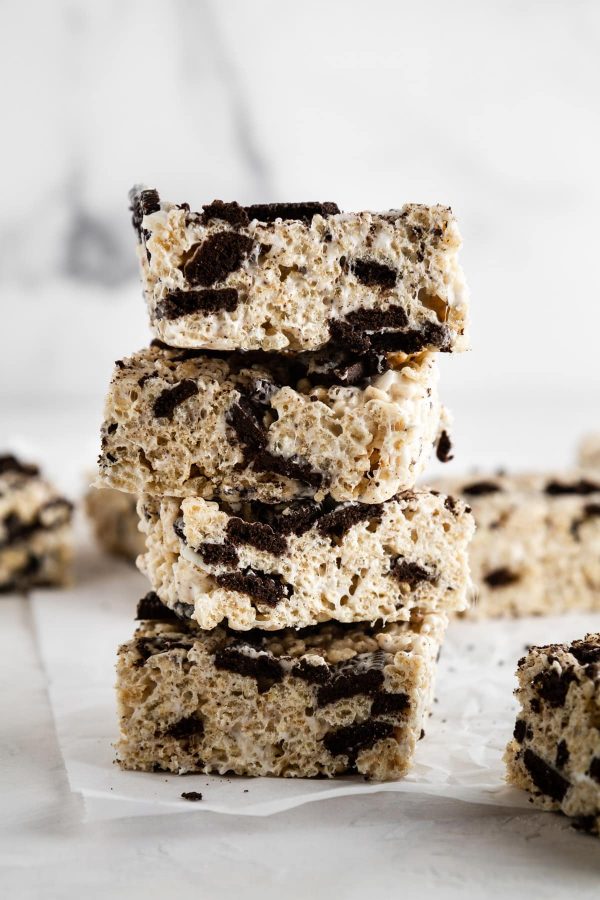
Craving a simple yet seriously delicious dessert right now? I’ve got one for you — these Brown Butter Oreo Rice Krispie Treats, which are just as easy to make as the classic treat but 10000000x better. You only need 15 minutes and five ingredients to get these decadent, ooey-gooey, crispy cereal bars in your life, and you’ll never want them to leave.
Brown Butter Oreo Rice Krispie Treats Recipe
Happy 2022! I’m kicking off the new year with a sweet, simple and seriously delicious treat that will have you saying “wow” and “yum” and “omgggg” all at the same time — and it comes together in just 15 minutes. Say hello to Brown Butter Oreo Rice Krispie Treats!
Here is what you can expect from these delectable bars of crispy, chocolaty, brown-buttery, ooey-gooey goodness:
- A super-simple ingredient list (only 5 needed!)
- Three easy steps total
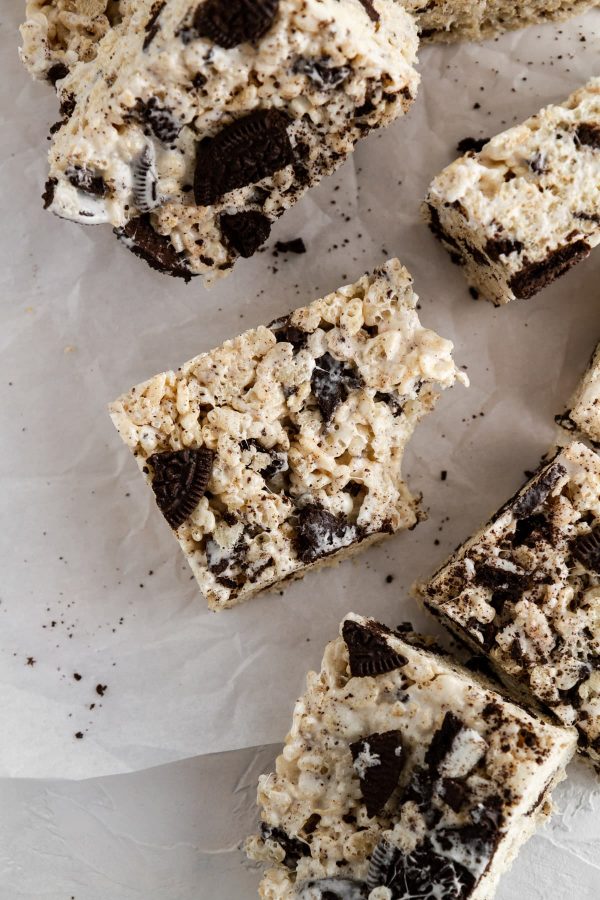
- Insane flavors, like nutty/caramelly brown butter, cookies and cream, and melty marshmallow all in one
- The perfect ratio of crispy rice cereal : gooey marshmallows : melted butter
- A recipe that requires no baking
- A recipe that’s incredibly customizable — scroll down for ideas!
I know it may be hard to expect so much from a humble cereal bar, but trust — this one isn’t like the others. This one is special, and you need it in your life.
How to Brown Butter
Brown butter, aka beurre noisette, is a French technique that takes plain butter to a whole new level. What’s great about brown butter is that not only is it easy to make, but it’s very versatile — you can use it in so many recipes (I’ve used it in my Brown Butter Carrot Cake, Lemon Bars with a Brown Butter Shortbread Crust and Brown Butter Apricot White Chocolate Blondies, to name a few), both sweet and savory (psst — it’s also so good on top of ravioli or in soup). Here’s how you do it:
- Step One: Place a stick of solid butter in a saucepan. Turn up the heat on your stovetop to medium.
- Step Two: Melt the butter, stirring often with a spatula.
- Step Three: Once the butter is fully melted, continue to stir the butter constantly over medium heat. It will be yellow and frothy at this stage — keep going, things are going to change soon!
- Step Four: In about 3 minutes, the butter will start forming brown bits on the bottom of the pan. Keep stirring; you’ll start to notice that the liquid itself will turn a deeper yellow, then a light amber color. The butter also will start to give off a nutty aroma.
- Step Five: Once the butter is fully aromatic and amber in color and there are a lot of brown bits in the pan, immediately remove the pan from heat. If desired, you can strain out the brown bits, but I like to keep them in my recipes for the flavor.
The brown butter in these Rice Krispie treats makes them taste extra sophisticated and decadent, and it’s only one extra step. That said, if you don’t like the taste of brown butter or don’t feel like making it, no sweat! Regular melted butter also works in this recipe.
Can I Use Any Type of Oreos?
Yes!! I used regular Oreos to develop this recipe, but pretty much any Oreo flavor will work here (the Double Stuf and Mega Stuf varieties, too). I am envisioning future Brown Butter Oreo Rice Krispie Treats made with Golden Oreos, or Birthday Cake Oreos, or Peanut Butter Oreos. And my mind just exploded thinking about how these bars would taste with these Toffee Crunch Oreos, which I’ve never tried (have you?).
How Do I Store Brown Butter Oreo Rice Krispie Treats?
Rice Krispie treats are best served the day they are made, when they’re at their ooey-gooiest, but since it’s usually unlikely (though not impossible) that the entire pan will disappear in a single day, you can store leftover bars tightly wrapped at room temperature for up to 3 days. For extra freshness assurance, you can wrap them individually in plastic wrap, then place them in an airtight container or resealable food storage bag.
If 2022 has already taught us anything, it’s that life is too short for regular ol’ rice Rice Krispie Treats — so let’s brown the butter, stir in the cookies, and add a little more joy, because we can.
Brown Butter Oreo Rice Krispie Treats
- Prep Time: 10 minutes
- Cook Time: 5 minutes
- Total Time: 45 minutes
- Yield: 18 bars 1x
- Category: Dessert
- Method: Cook
- Cuisine: American
Description
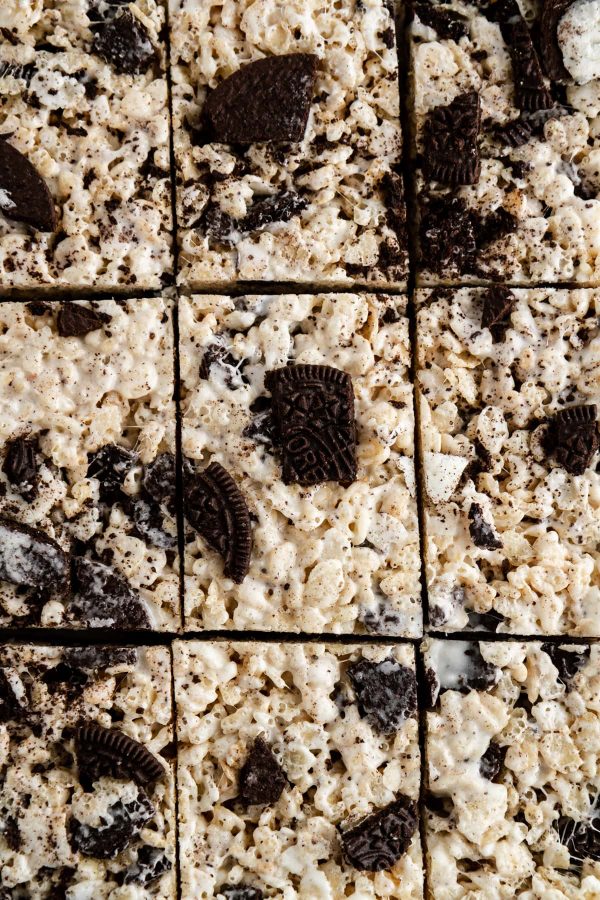
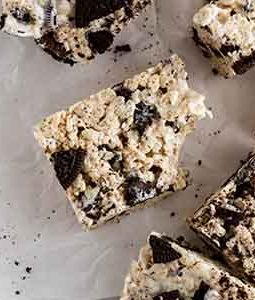
Simple, sweet and oh-so-satisfying, these classic cereal bars feature nutty brown butter and chopped cream-filled chocolate cookies in every ooey-gooey bite.
Ingredients
- 1/2 cup (1 stick) butter
- 10 cups (20 oz) marshmallows, mini or regular-size
- 1 teaspoon vanilla extract
- 1/4 teaspoon salt
- 8 cups crispy rice cereal (such as Rice Krispies)
- 3 cups coarsely chopped Oreo cookies (about 22 whole cookies)
Instructions
- Line a 13×9-inch pan with foil. Spray foil with cooking spray. Set aside.
- In a large saucepan over medium heat, melt butter. Continue to cook melted butter, stirring constantly, until brown bits begin to emerge and the butter turns a light amber color and smells nutty, about 3 to 4 minutes. Add marshmallows; stir mixture until marshmallows are mostly melted. Stir in vanilla and salt.
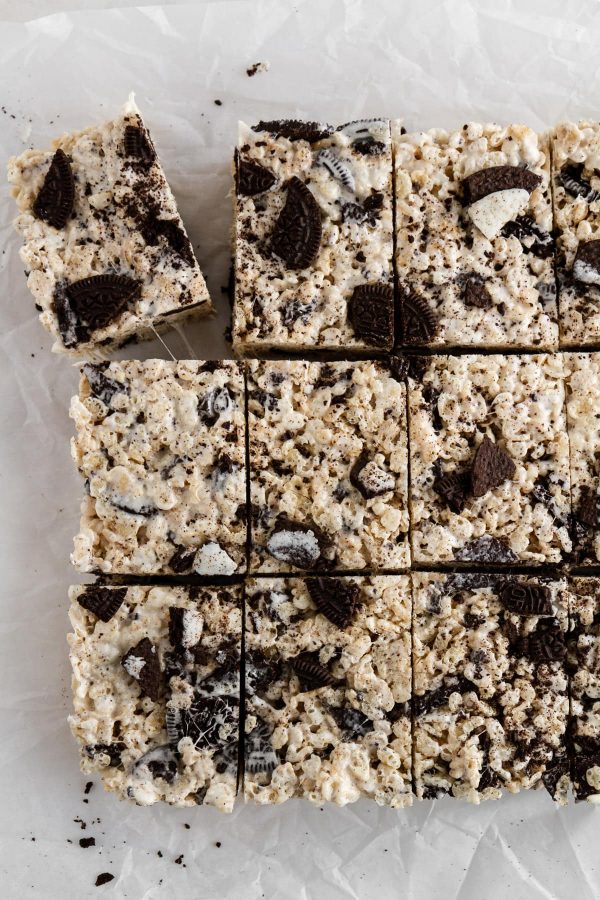
- Add cereal and chopped Oreos; stir gently until mixture is well-combined. Pour, spread and press mixture evenly into prepared baking pan. Cool completely, about 30 minutes. Use foil to remove bars from pan; use a sharp knife to cut into bars.
Notes
- Bars are best served the day they are made, but can be stored tightly covered at room temperature for up to 3 days.
- Recipe adapted from Mel’s Kitchen Cafe.
what a great twist, and a nice texture contrast too, and fun yay, ,thank you!