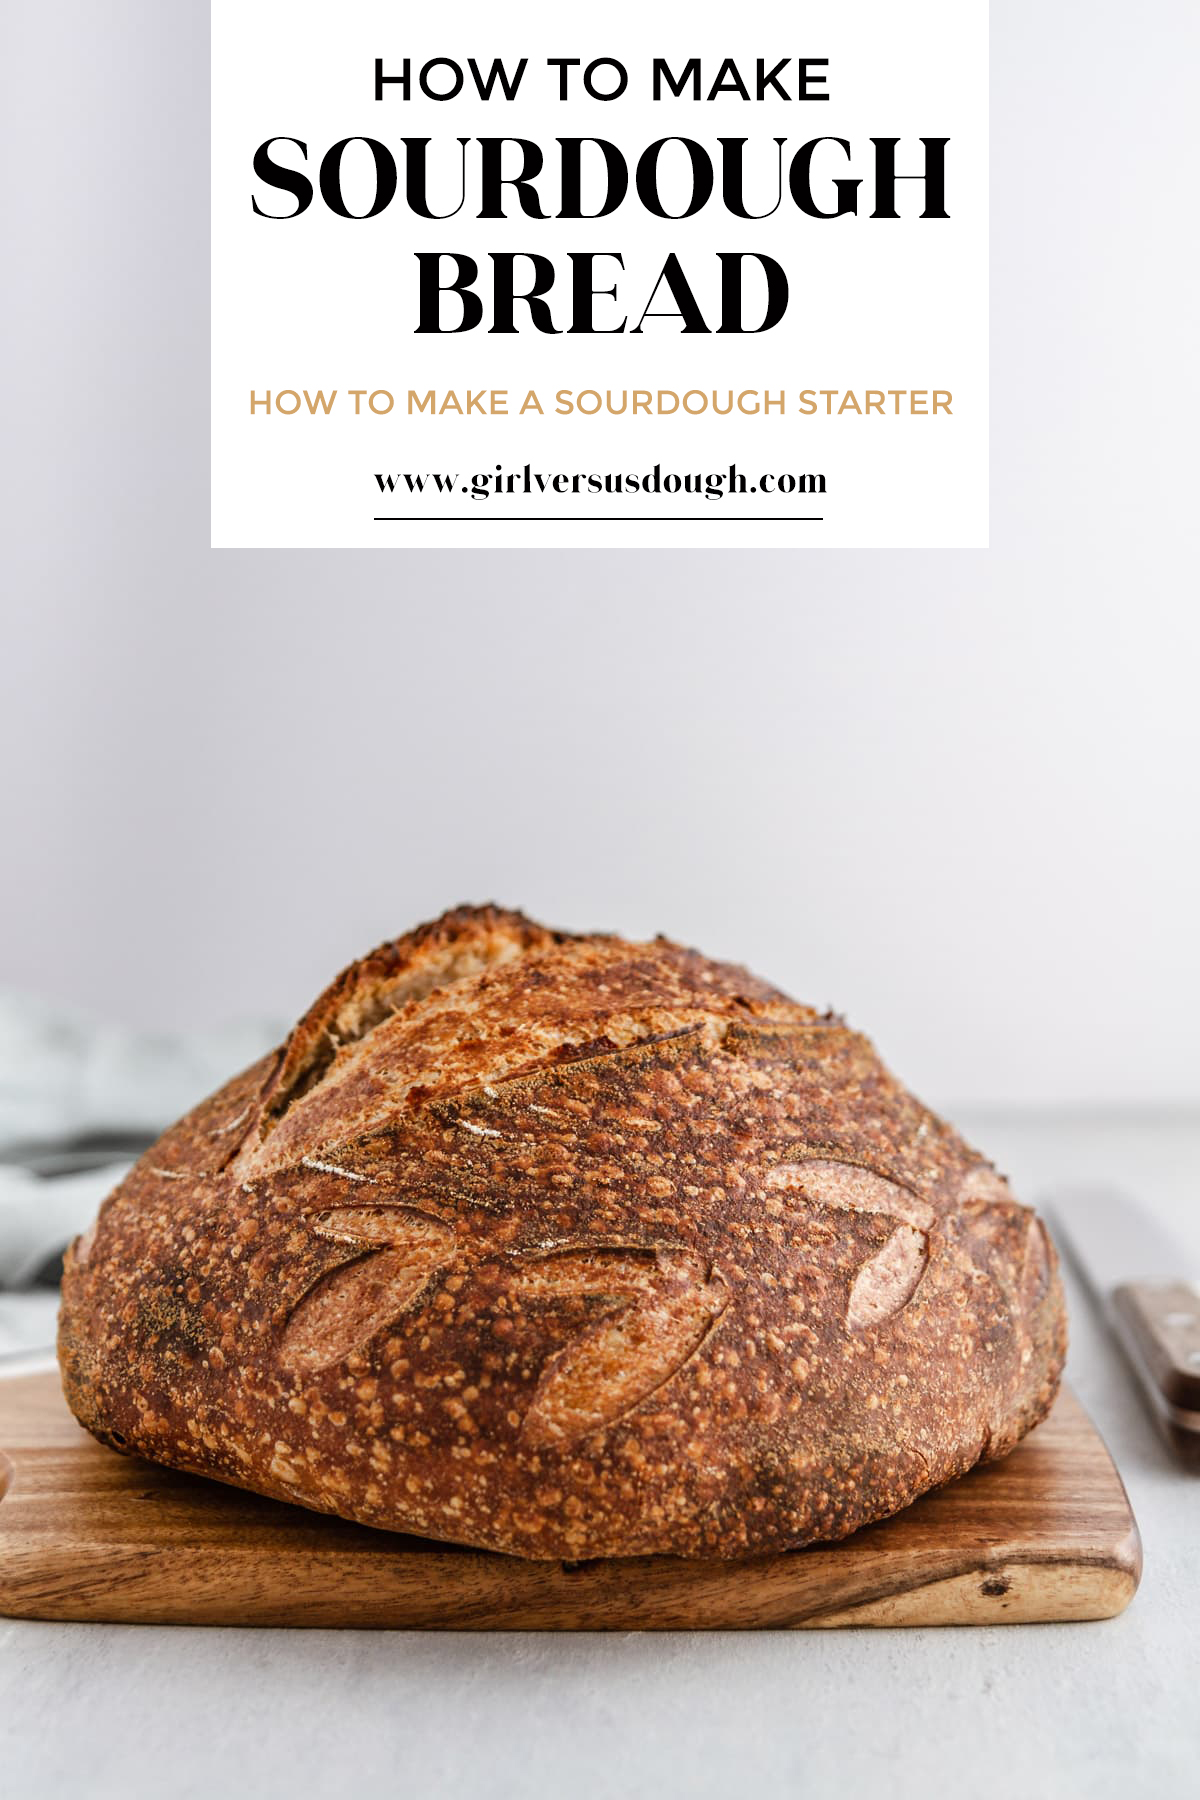
how to make a sourdough starter
Welcome to the newest post in our series, “How to Make Sourdough Bread.” Today’s post is ALL about how to make a sourdough starter completely from scratch in one week just using flour and water — and a little know-how. I’ll take you step by step through everything so the process is a breeze. BONUS: Scroll down to the bottom of the post for a free printable starter feeding schedule!
HI HELLO. Are we ready for this? Do we have all the essential sourdough tools in place and a ridiculous eagerness to continue our sourdough bread baking journey? Good. I’m excited, too.
Today’s post is all about how to make a sourdough starter from scratch. If you follow along with me, in about a week’s time you’ll have a thriving, bubbly, happy starter. You should name it, too — that’s totally a thing. Say hello to Lucille III.
A FEW TIPS BEFORE WE GET STARTED
A few things that are important to know before we dive into this sourdough starter journey:
1. The ideal storing place for a starter is somewhere warm, around 73-77 degrees F. For me, this is in my oven with the light turned on. I place it on a baking sheet for some stability on the grates and, depending on how quickly it rises/falls, will move it closer to or farther away from the oven light to adjust its growth rate. Some people use a proofing box to maintain exact temperatures for their starters at all times. Others will store it on top of the refrigerator or high up in a cabinet. It all works — just be sure to keep it somewhere in your home that averages 73-77 degrees F.
2. In the first few days of creating a starter, you’re unlikely to see too much activity. Some people experience a surge in their starters in the first day or two, but that’s never happened for me. Regardless, in about 7-9 days I’ve developed happy, healthy starters — but for others, it may take even longer. Don’t stress! If you follow the directions, it will happen for you.
3. The formula for this sourdough starter is not absolute. I have tried starters with different amounts of whole wheat and all-purpose flour, or just all-purpose flour, and I know some people use rye flour for their starters, as well. It all works — the important thing is that once you start feeding your starter with a certain flour(s), it’s best to keep feeding it with those flours.
4. Review my post on essential sourdough tools for the best options on a starter jar, kitchen scale, spatula, flours and water.
5. Generally speaking, I feed my starter every 12 hours — around 8 a.m. and 8 p.m. When you first start feeding a starter, you’ll only do it once a day, and I’d recommend starting with the morning time to stay on track. So, on day one, feed your start at 8 am., day two at 8 a.m. and so forth until you begin to feed it twice a day — 8 a.m. and 8 p.m. You can refer to the printable schedule at the bottom of this post for the full rundown.
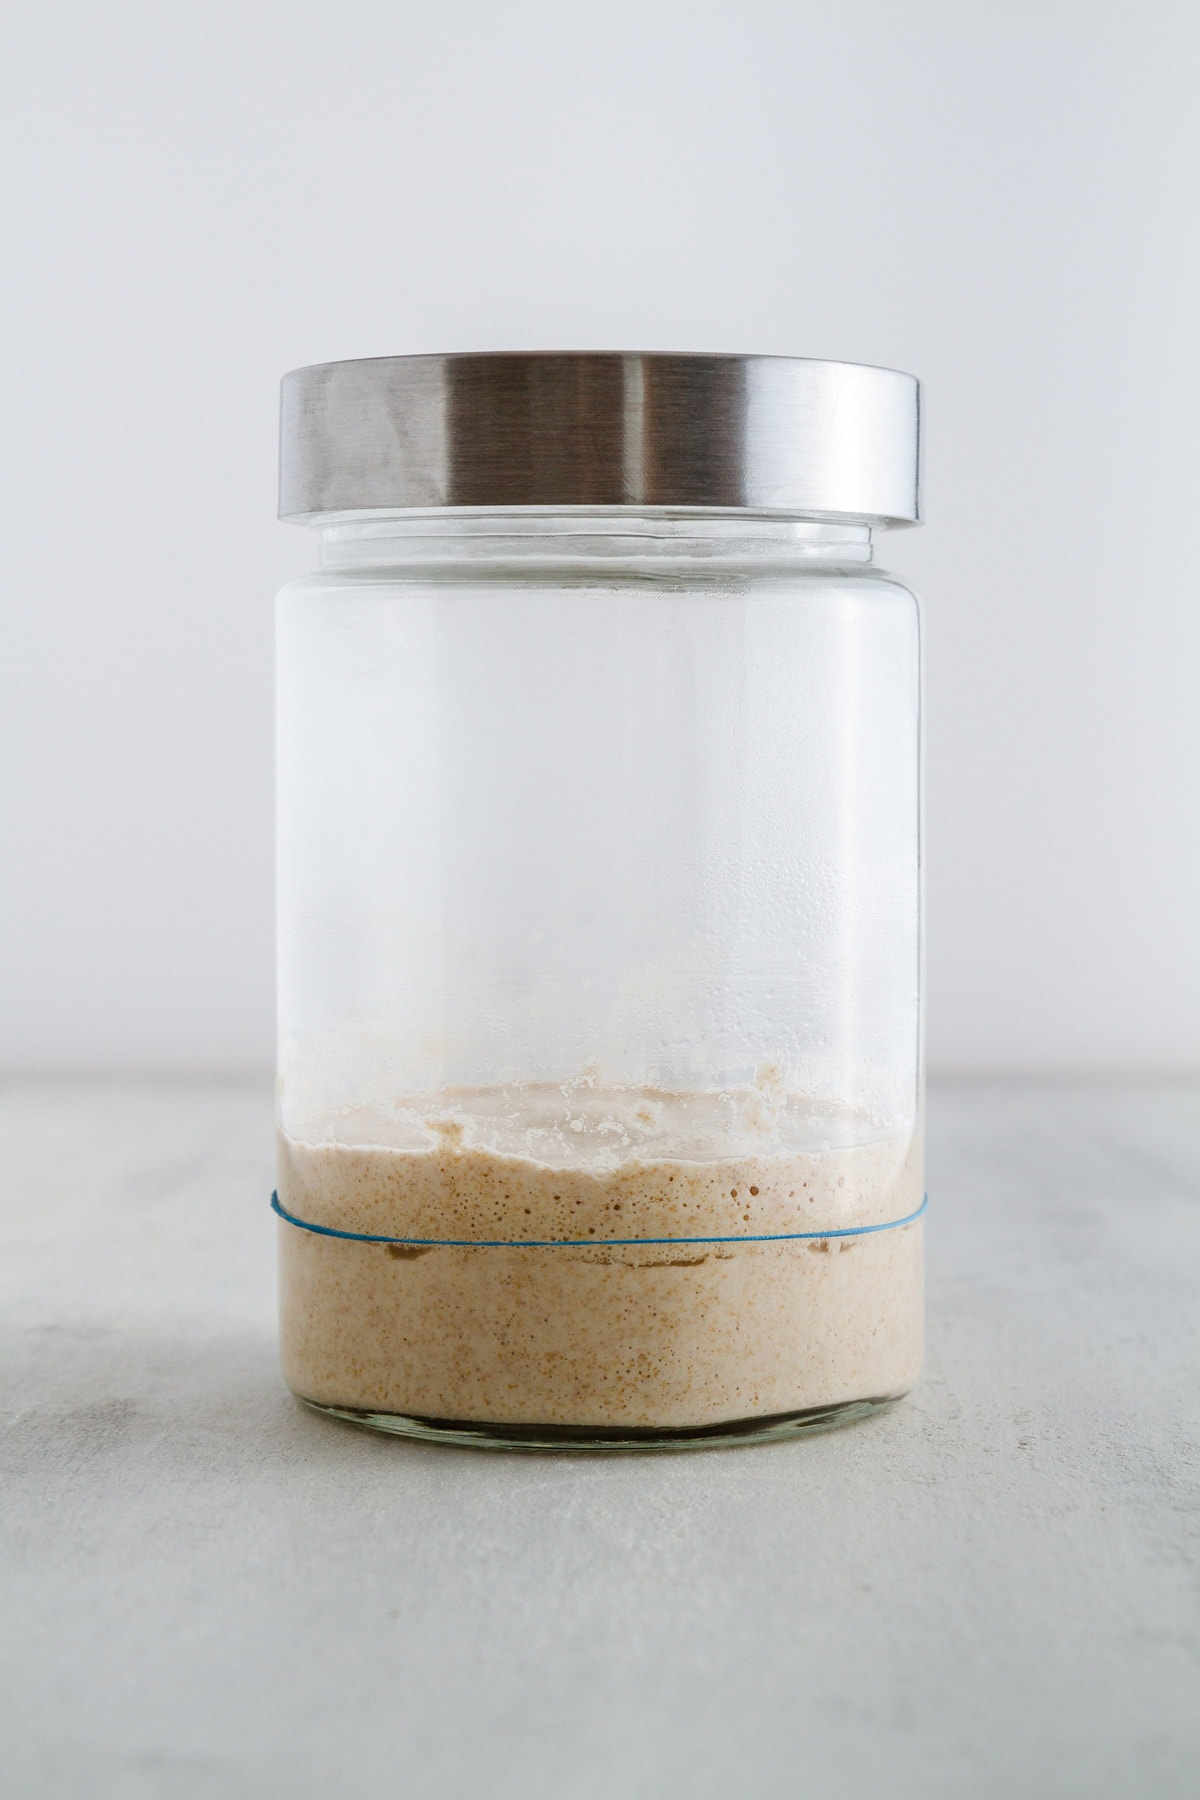
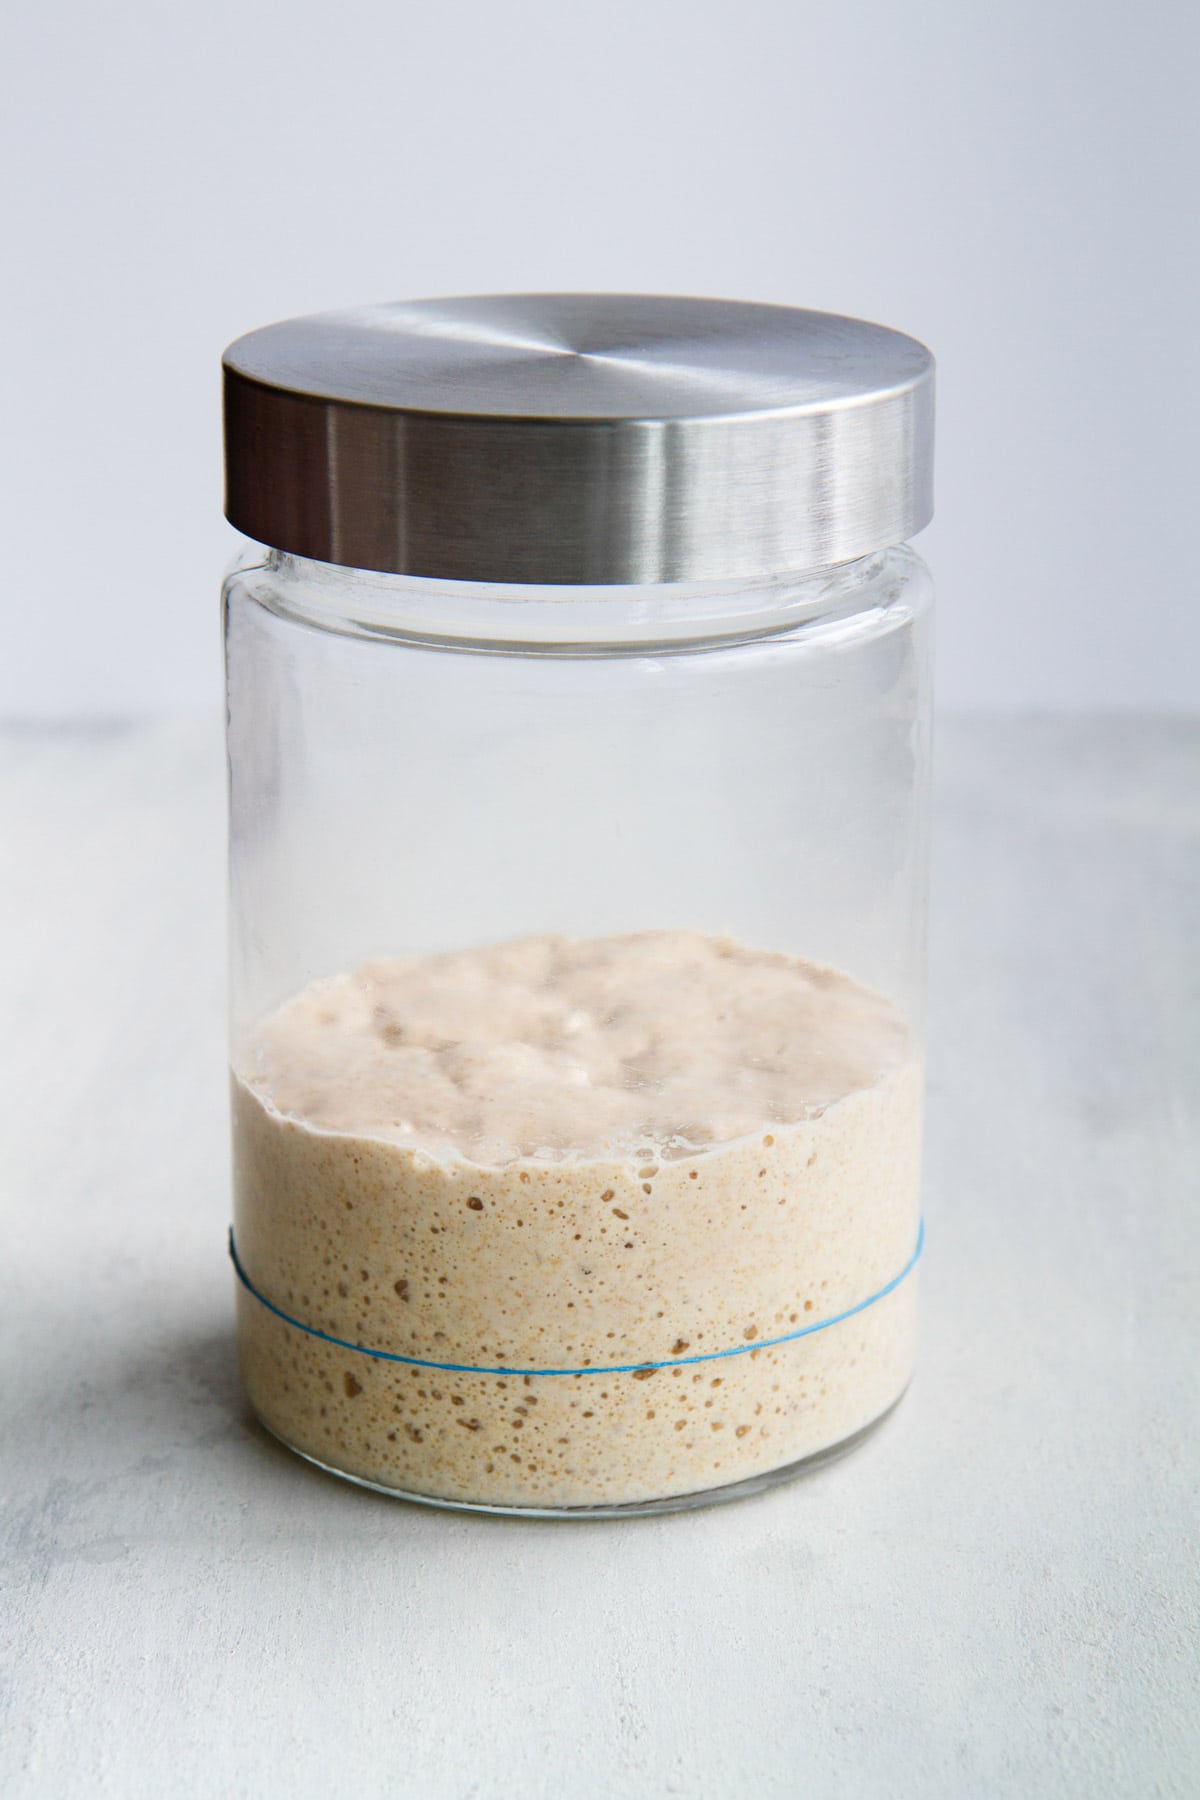
6. I place a rubber band around my starter jar where my starter, once stirred, is at its full height. This helps me to visualize how much the starter grows over the course of the day, which is important to be aware of once your starter is mature and behaving predictably (after a week or so) so you know how warm of a setting in which to keep it. If it grows too quickly, it will fall after just 10, 8, even 6 hours, and if you let a starter fall too much after it has reached its peak before another feeding, it can turn the flavor in a bad, sad way. We want the starter to rise to its peak after about 10-12 hours, tops, so we can feed it at its peak and stay on schedule. As I mentioned above, for me that means sometimes moving the starter closer to my oven light, farther away from my oven light or even sometimes leaving it in the oven with the light off, depending on what my high-tech rubber band method is telling me. Again, the ideal temperature is 73-77 degrees F.
OK, I think that covers the basics! LET’S GET STARTED.
DAY ONE
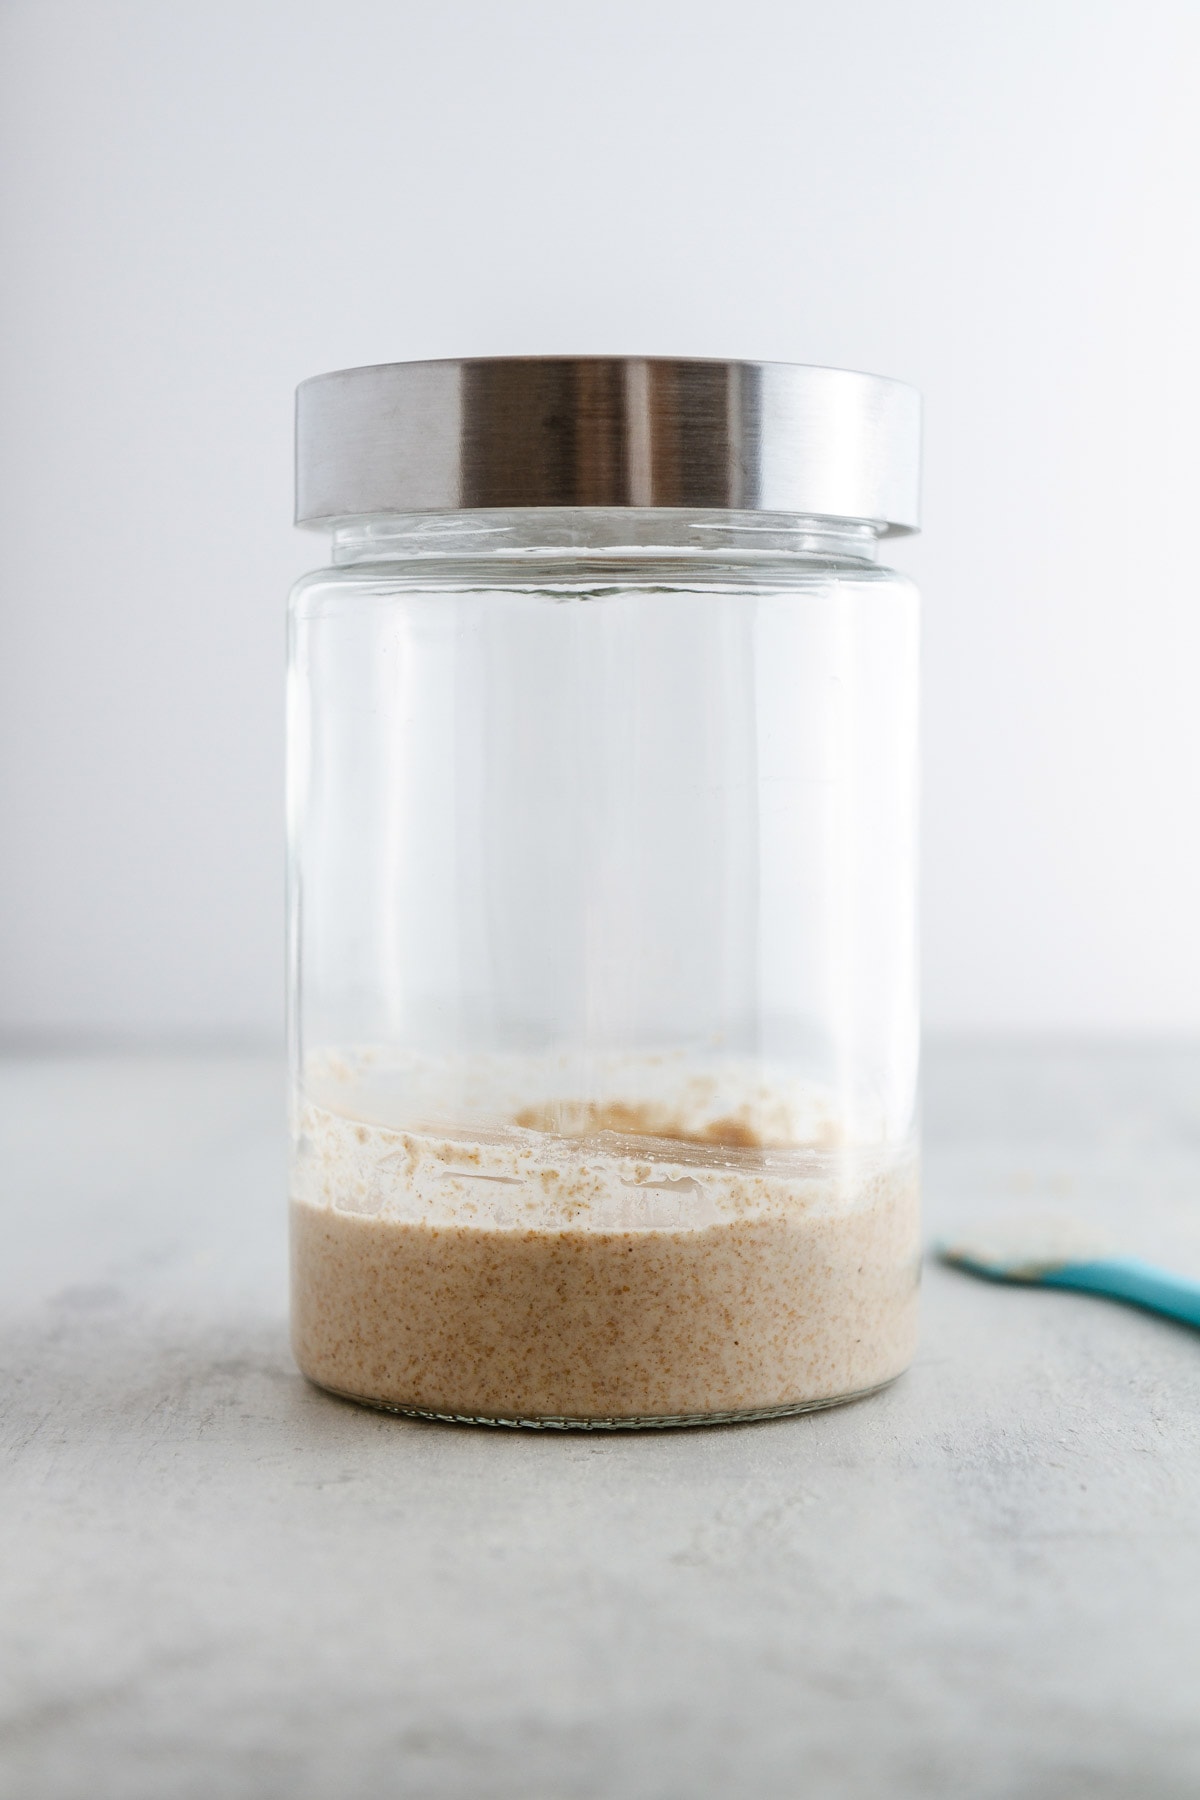
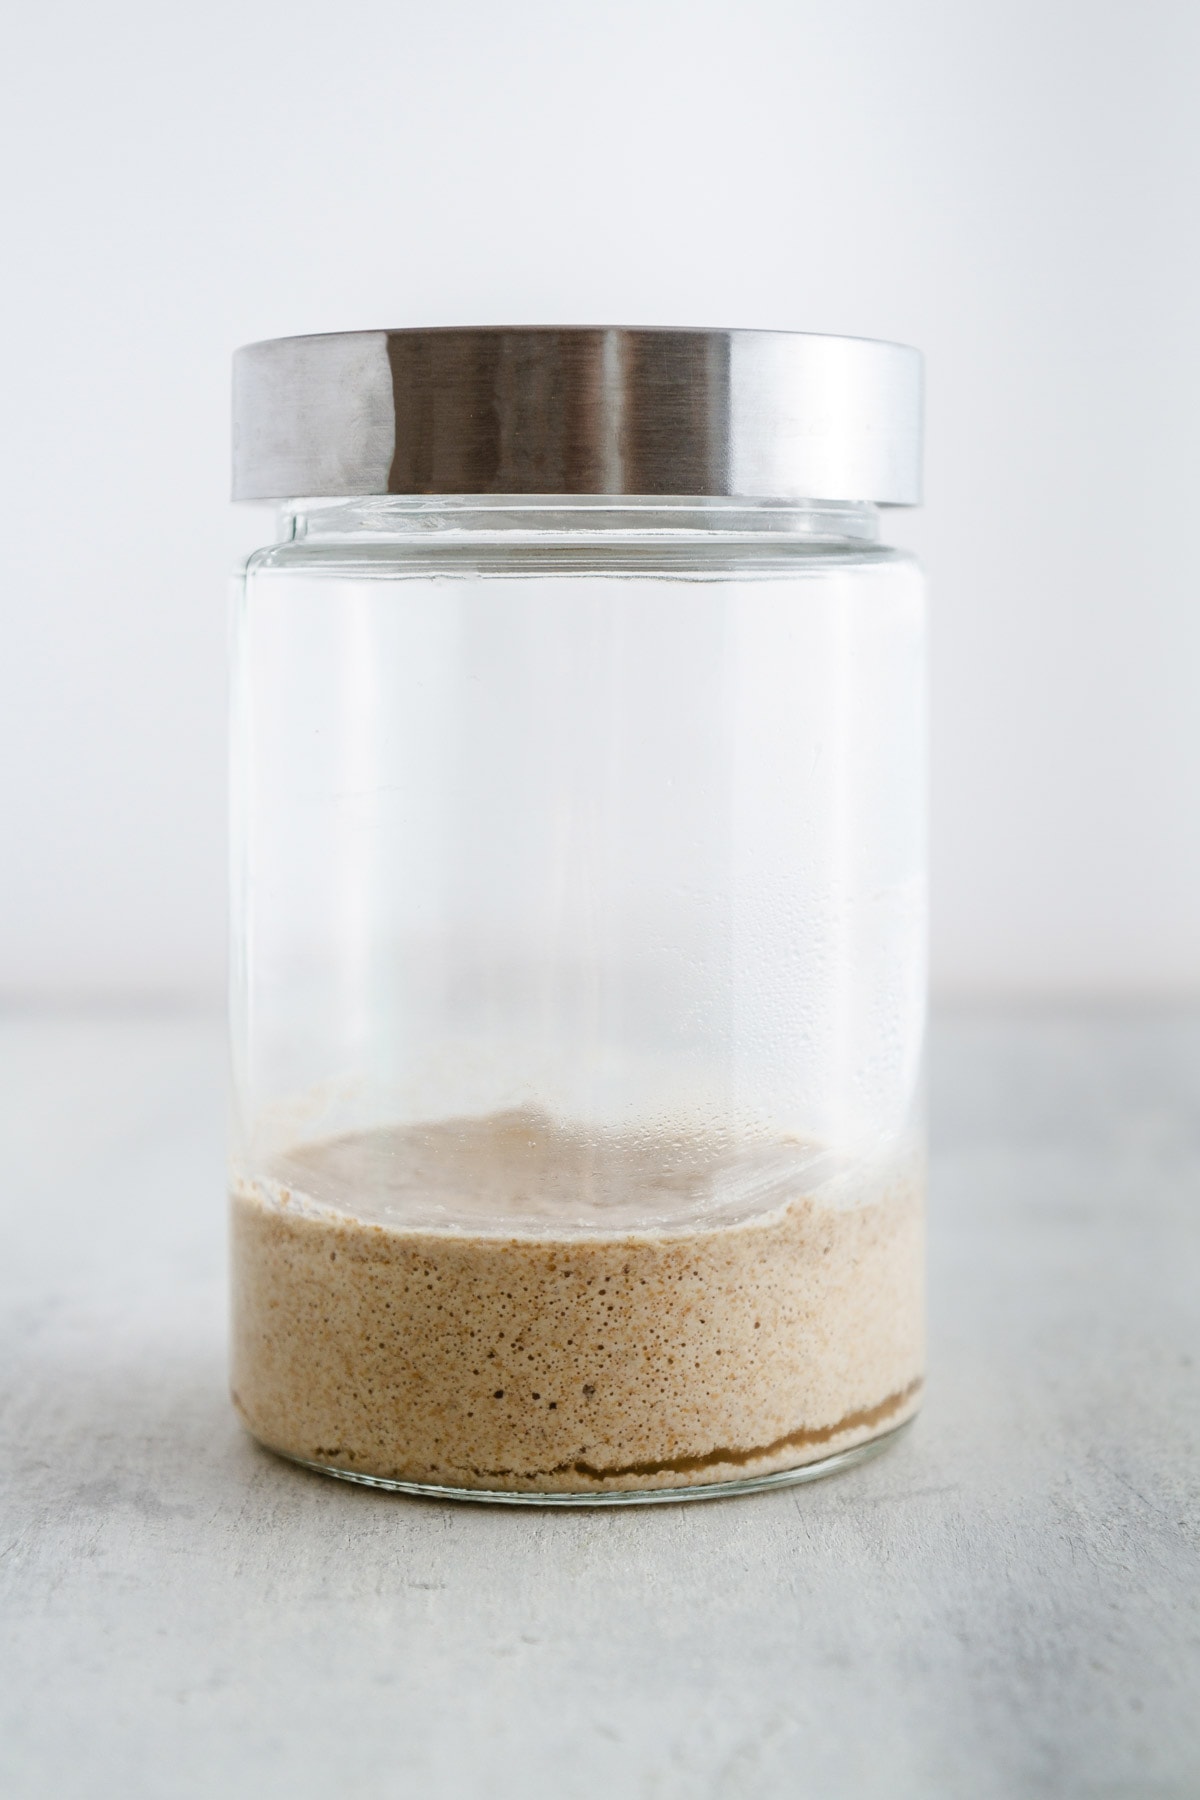
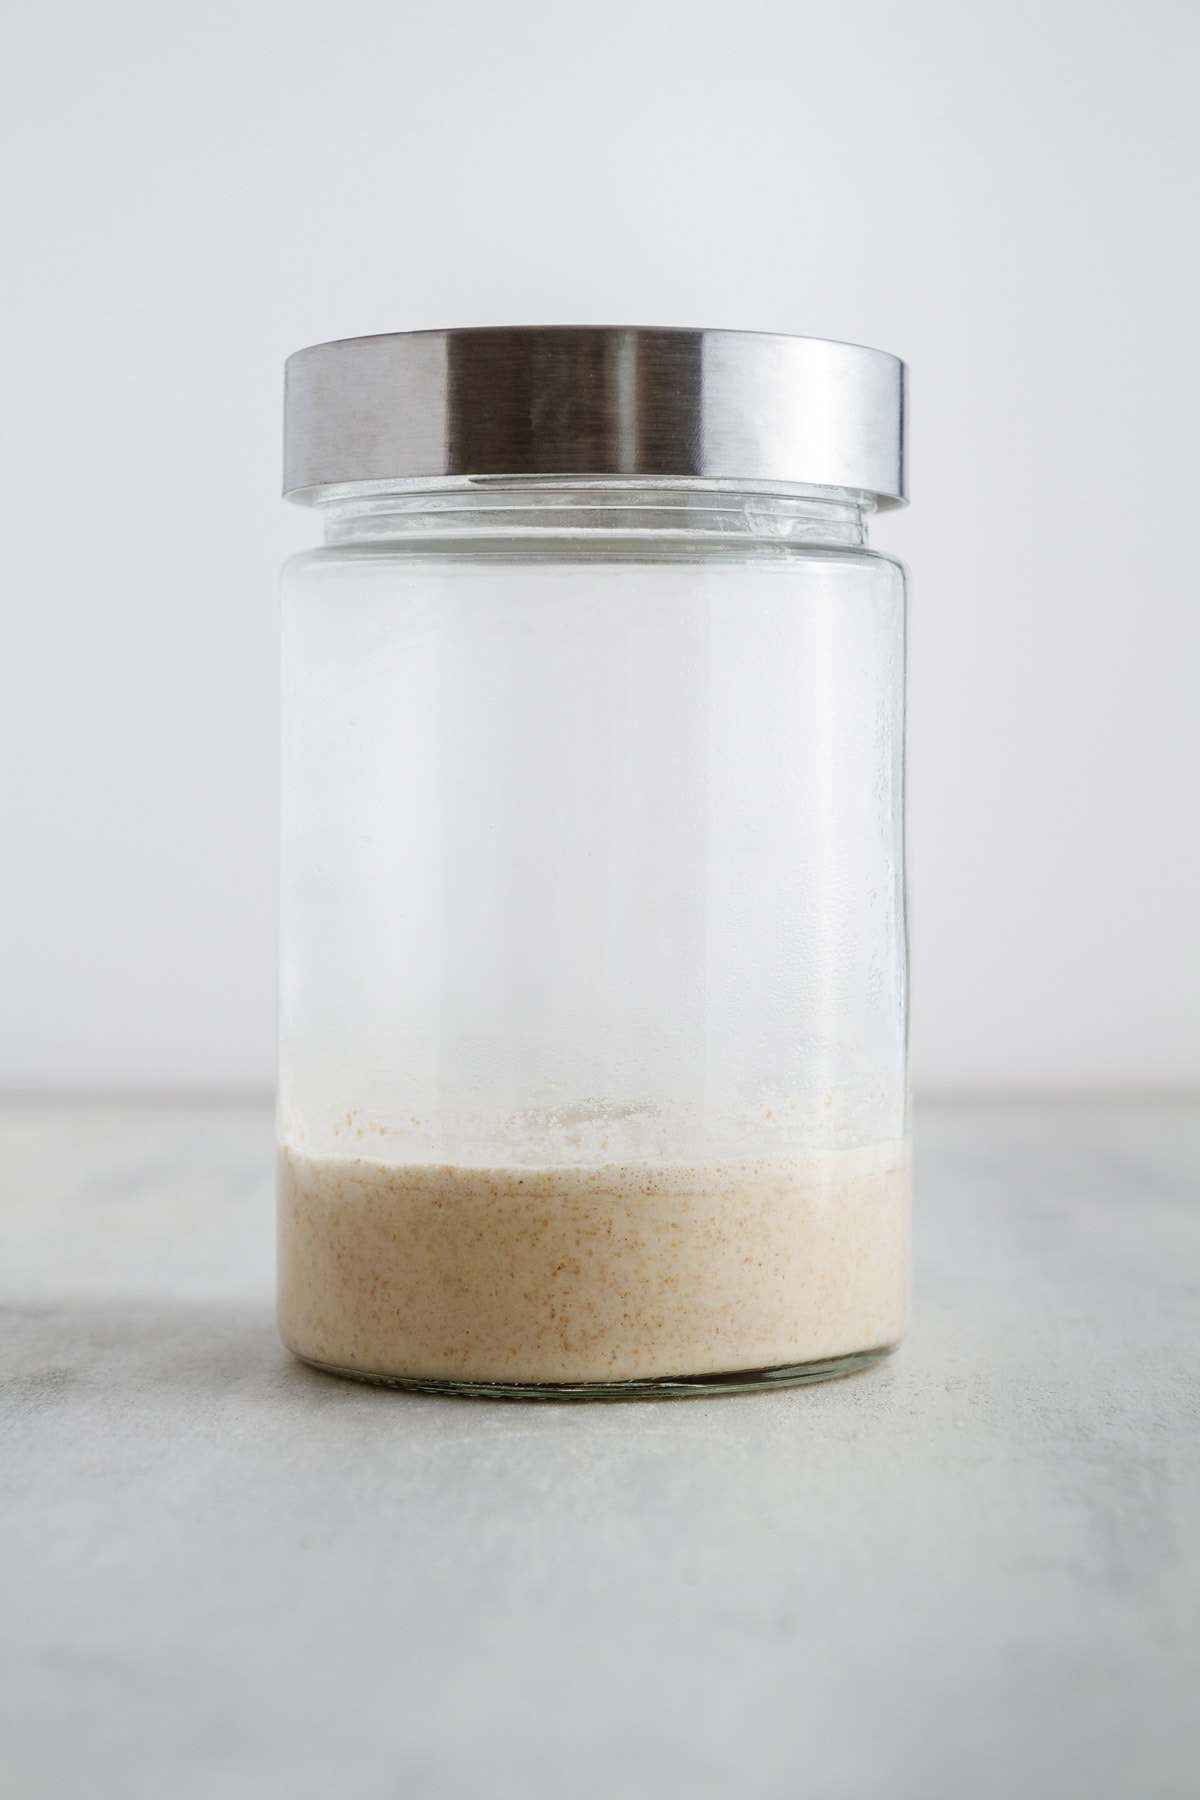
Congrats! You’re already on your way to the best sourdough bread of your life. To get started, place your starter jar on a kitchen scale. Tare the weight so it reads “0”, then to the jar add 100g whole wheat flour and 150g distilled water at room temperature. Stir the mixture vigorously with a spatula until no dry bits of flour remain. Cover the starter jar loosely with a lid (enough to allow air flow but to keep anything from going into the jar or out). Place your jar in a warm place (see above for options) and let rest for 24 hours.
DAY TWO
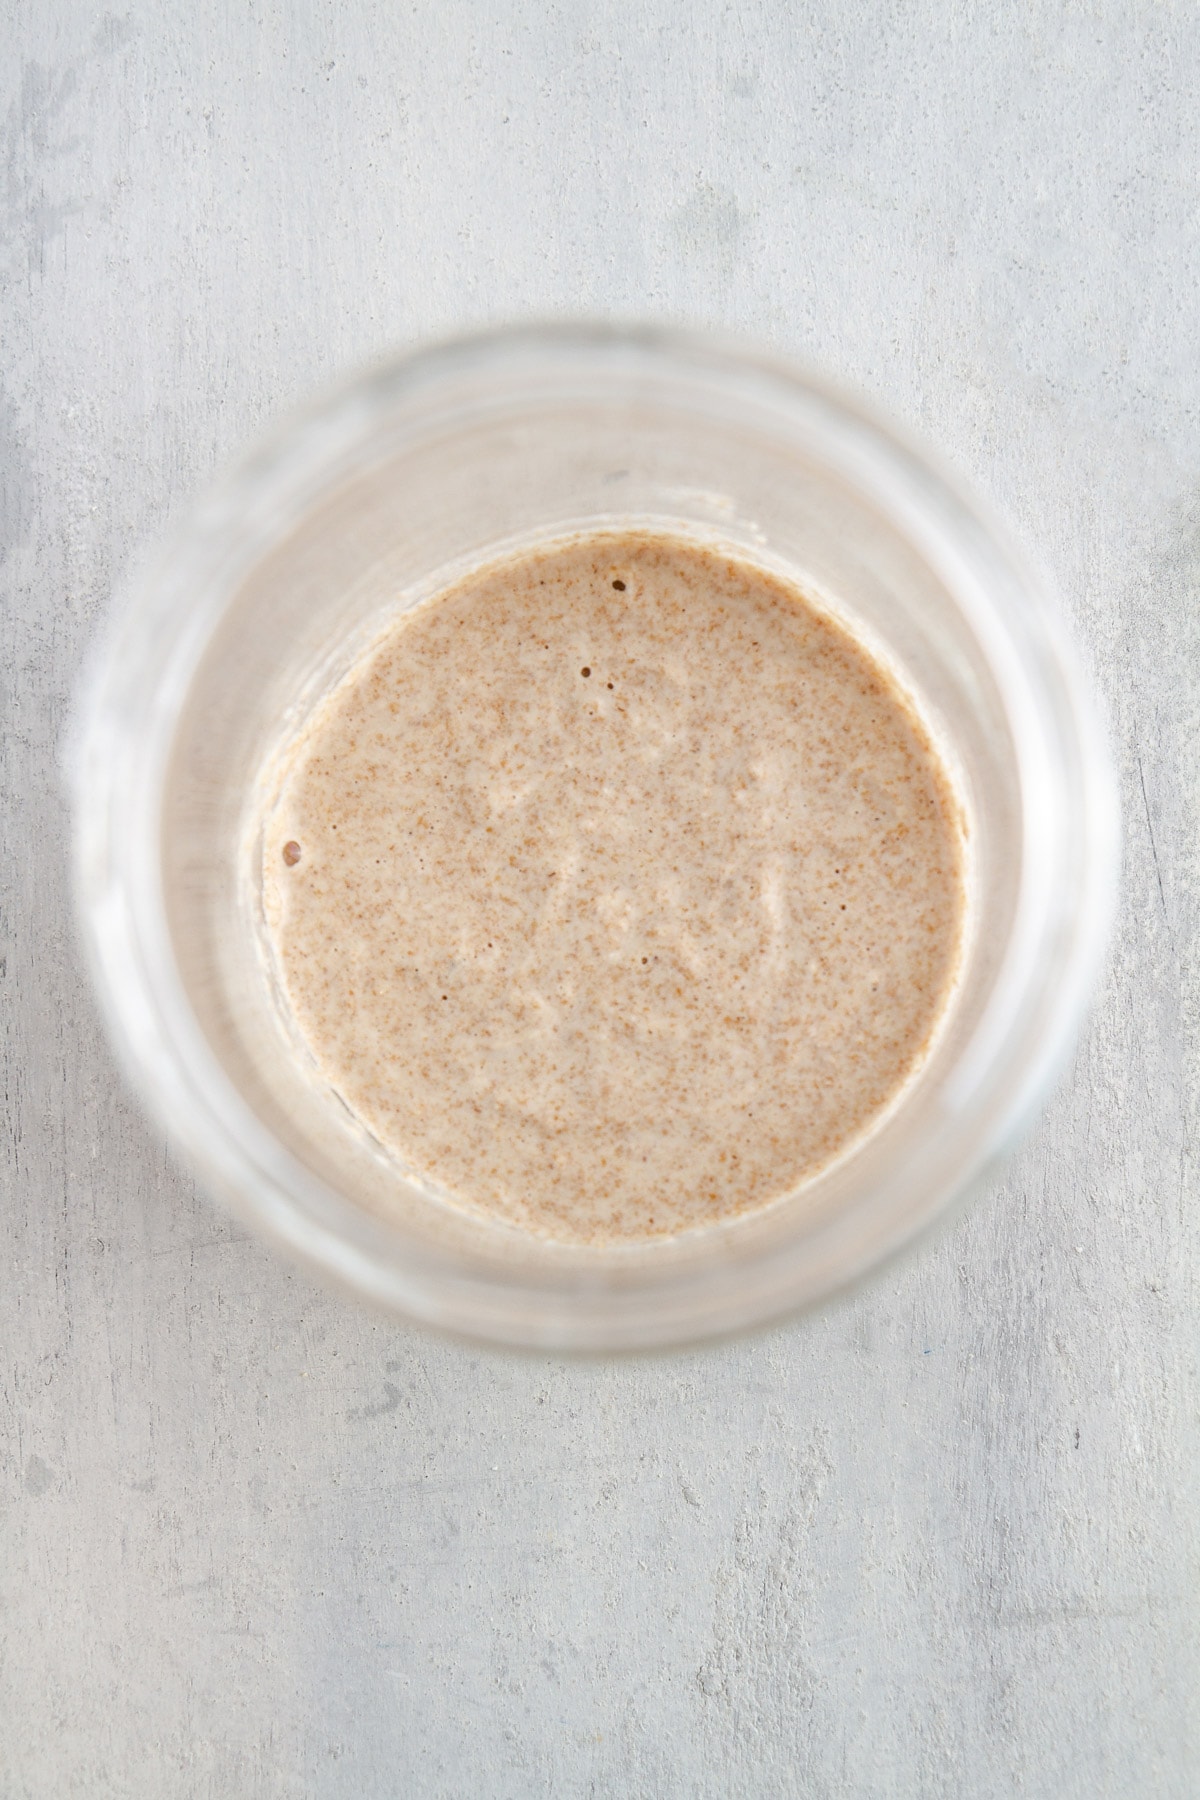
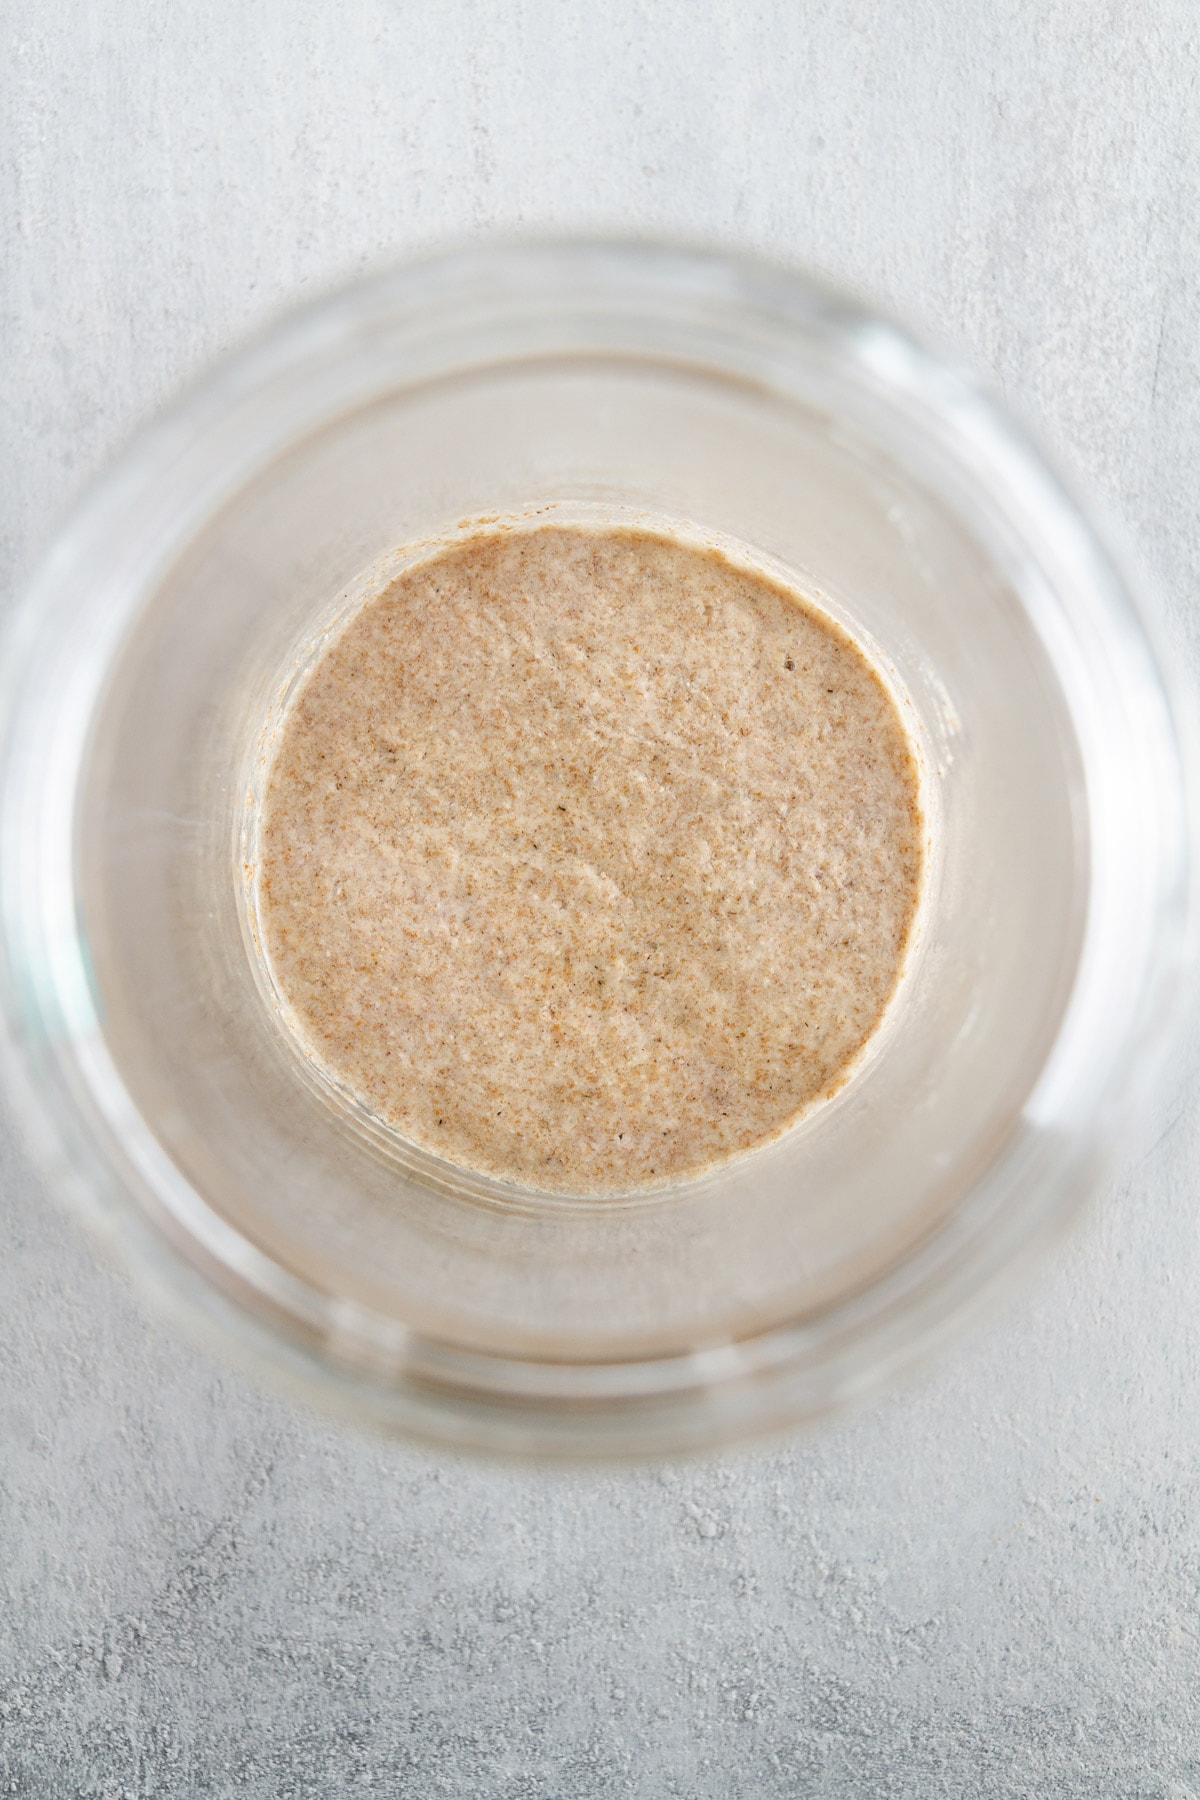
As I said before, at this point you may see a ton of activity, or you may see little to none. Either way, it’s good. Place a clean starter jar on a kitchen scale. Tare the weight so it reads “0”, then to the jar add 75g of your starter, 50g whole wheat flour, 50g unbleached all-purpose flour and 125g distilled water at room temperature. Stir the mixture vigorously with a spatula until no dry bits of flour remain. Cover the starter jar loosely with a lid, and place somewhere warm for 24 hours. Discard your excess starter.*
*NOTE: I wouldn’t recommend using your sourdough discard for another recipe yet, such as pancakes, since it’s so young and void of flavor and growth. We’ll use the discard later. But if you’re really bummed about wasting it right away, you can compost it.
DAY THREE
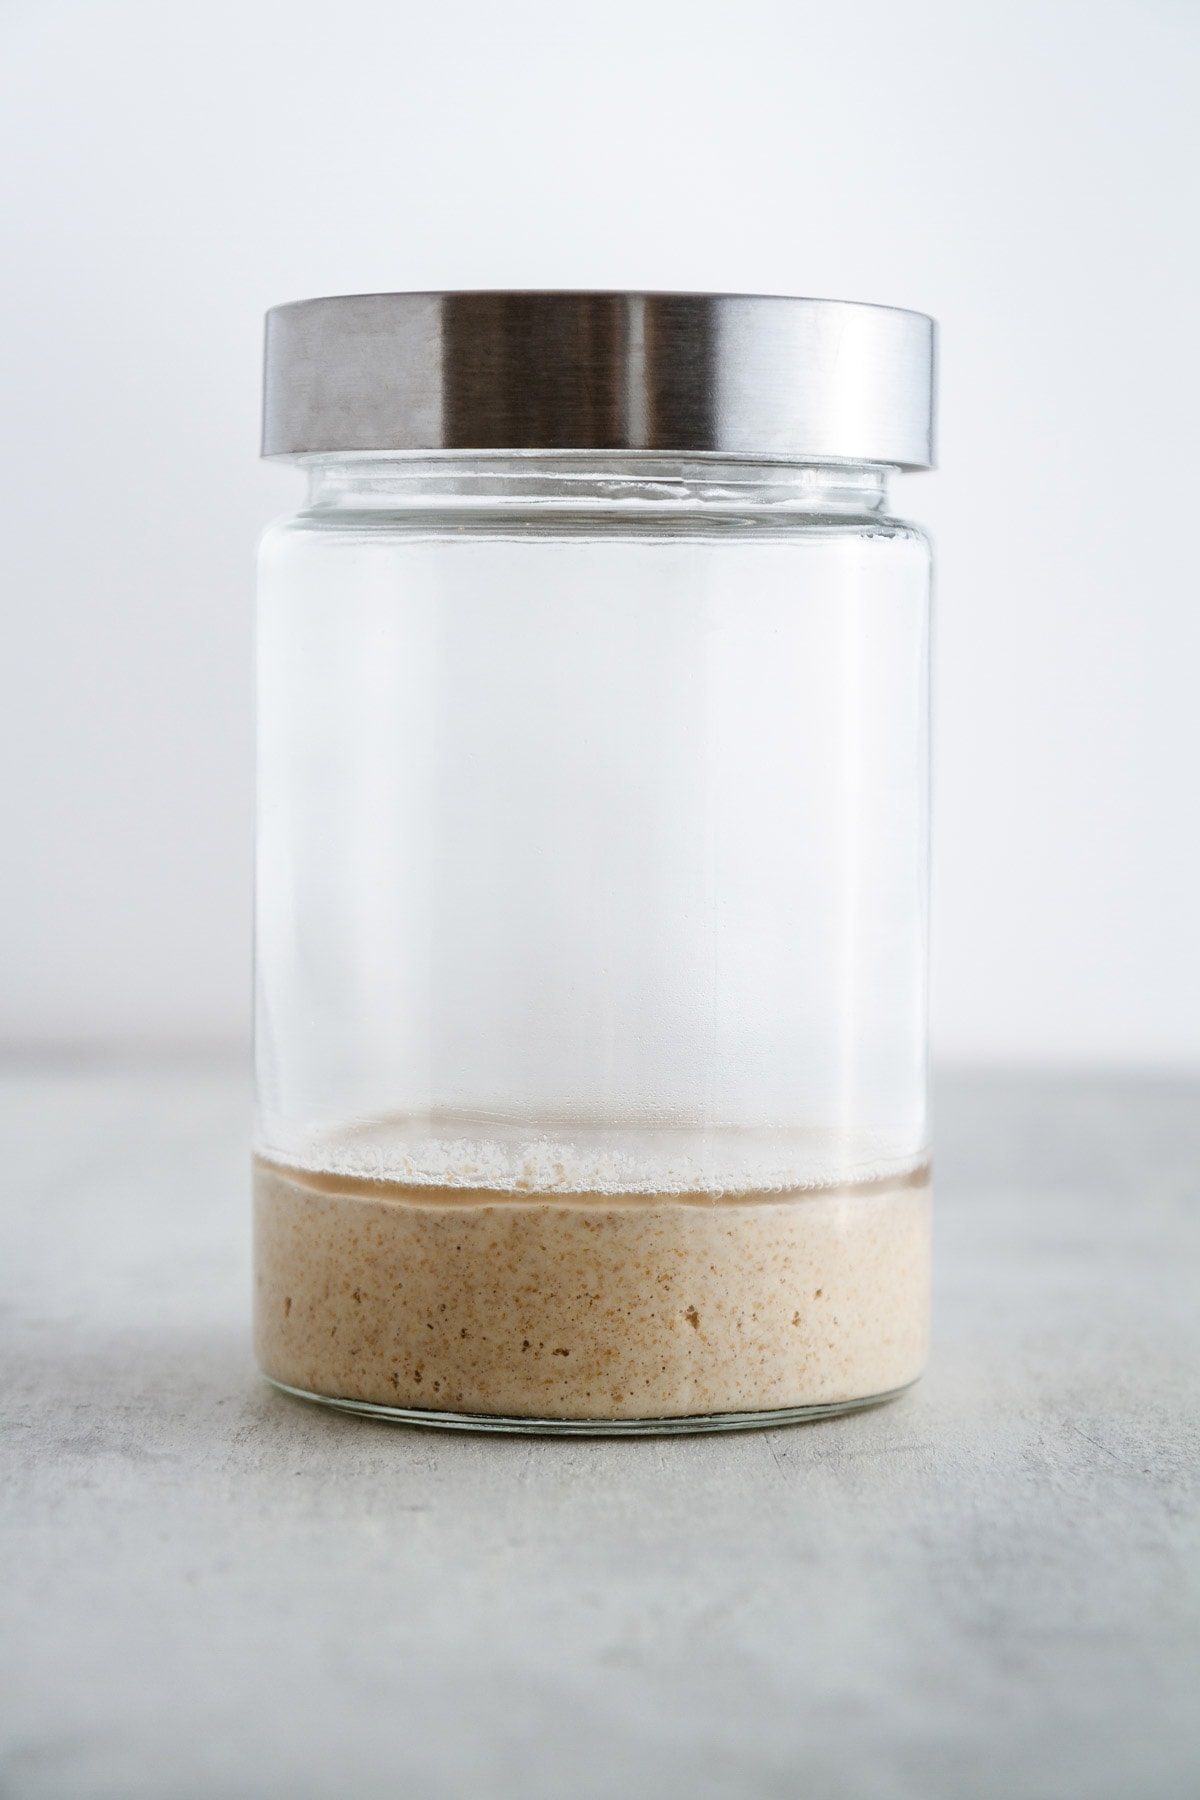
Again, at this point you are unlikely to see too much activity — maybe a few bubbles here and there, but nothing too outrageous. Mine even has a little hooch, aka the rim of water on top, meaning it has run out of food and is beyond ready to eat. This is normal — stir it in and carry on. Place a clean starter jar on a kitchen scale. Tare the weight so it reads “0”, then to the jar add 75g of your starter, 50g whole wheat flour, 50g all-purpose flour and 125g distilled water at room temperature. Stir the mixture vigorously with a spatula until no dry bits of flour remain. Cover the starter jar loosely with a lid, and place somewhere warm for 24 hours. Discard your excess starter.
DAY FOUR
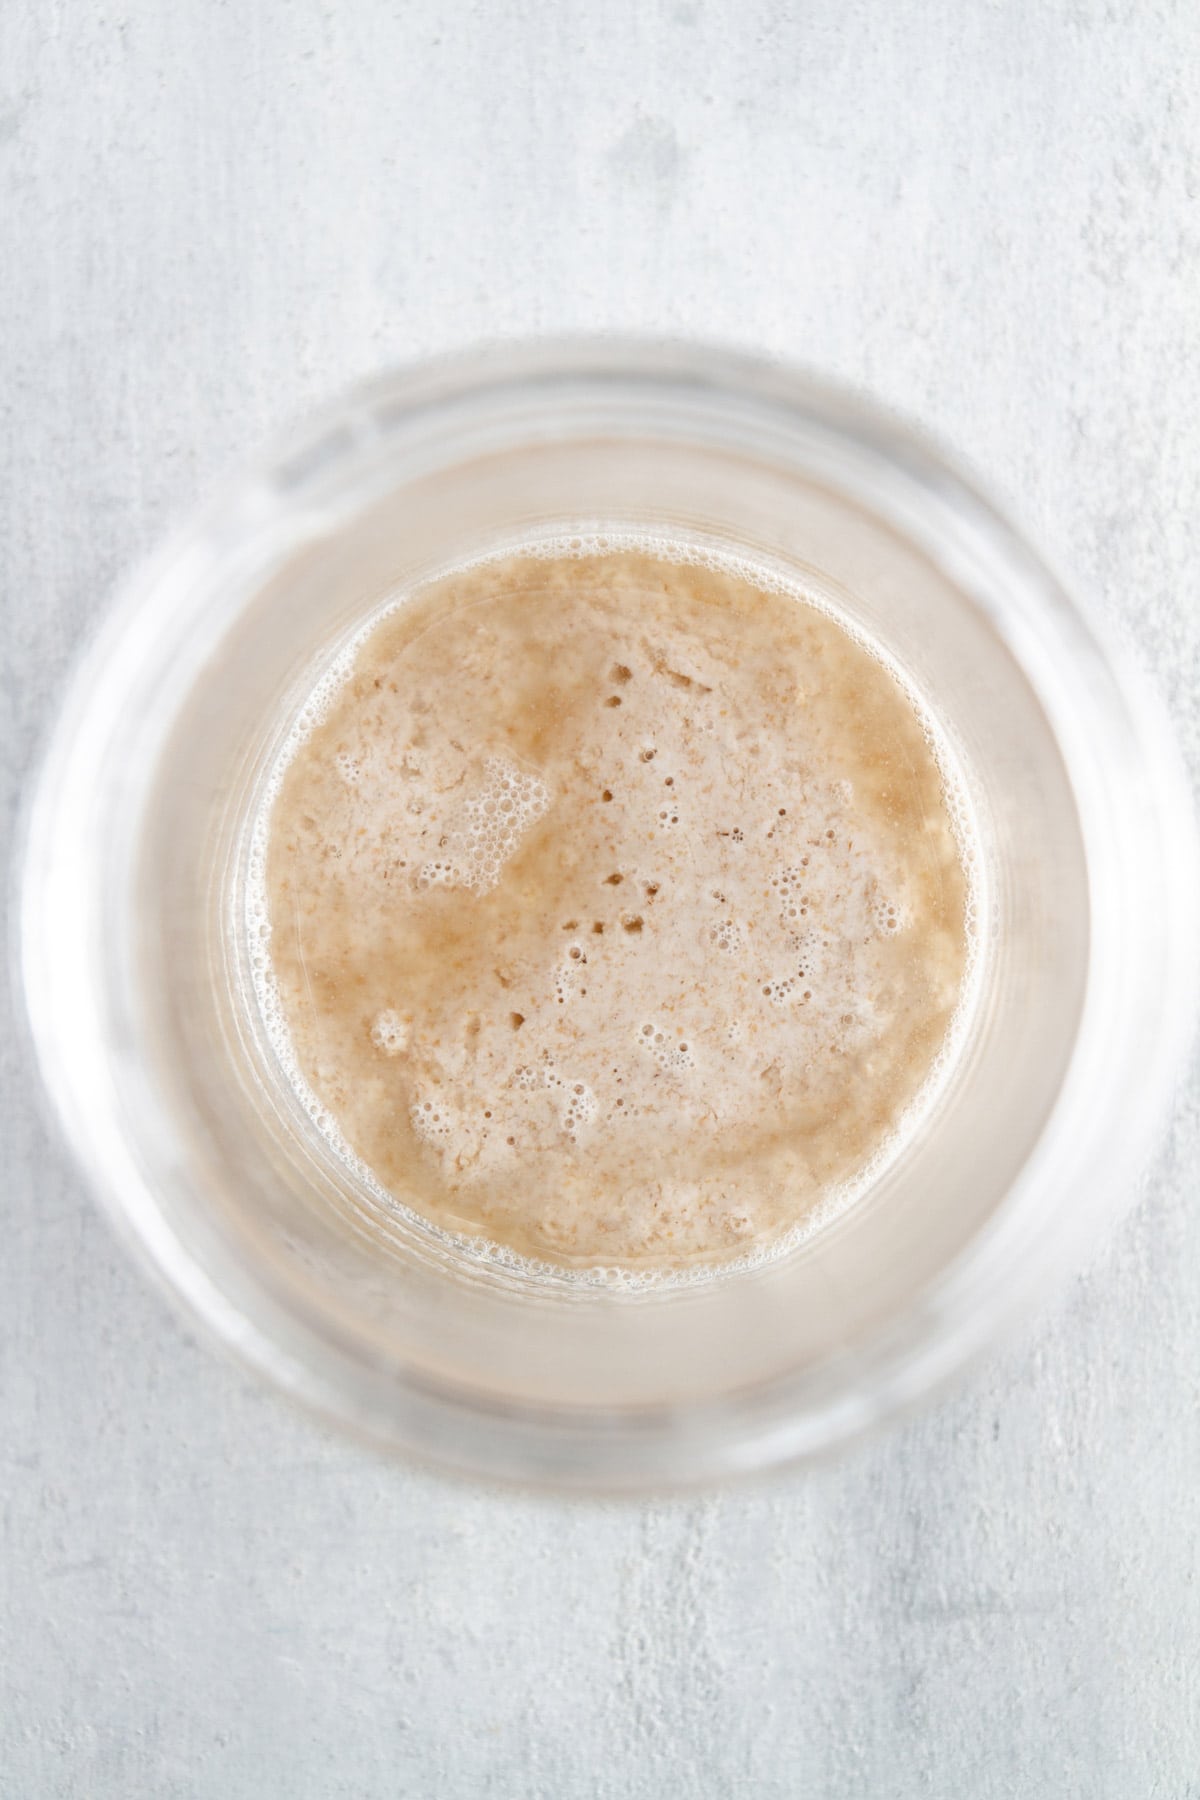
Heyo! Today, we might start seeing some real activity — this is exciting! You may see a few bubbles forming on the surface or throughout the starter, and it might even have a slight hint of a sour smell. If you don’t, do not worry! Some starters just take their sweet time.
Today is the first day that we’ll feed our starter twice in one day, so plan accordingly. You’ll feed your starter from here on out about every 12 hours.
In the morning, place a clean starter jar on a kitchen scale. Tare the weight so it reads “0”, then to the jar add 75g of your starter, 50g whole wheat flour, 50g all-purpose flour and 125g distilled water at room temperature. Stir the mixture vigorously with a spatula until no dry bits of flour remain. Cover the starter jar loosely with a lid, and place somewhere warm for 12 hours. Discard your excess starter.
In the evening, repeat the process exactly as written above.
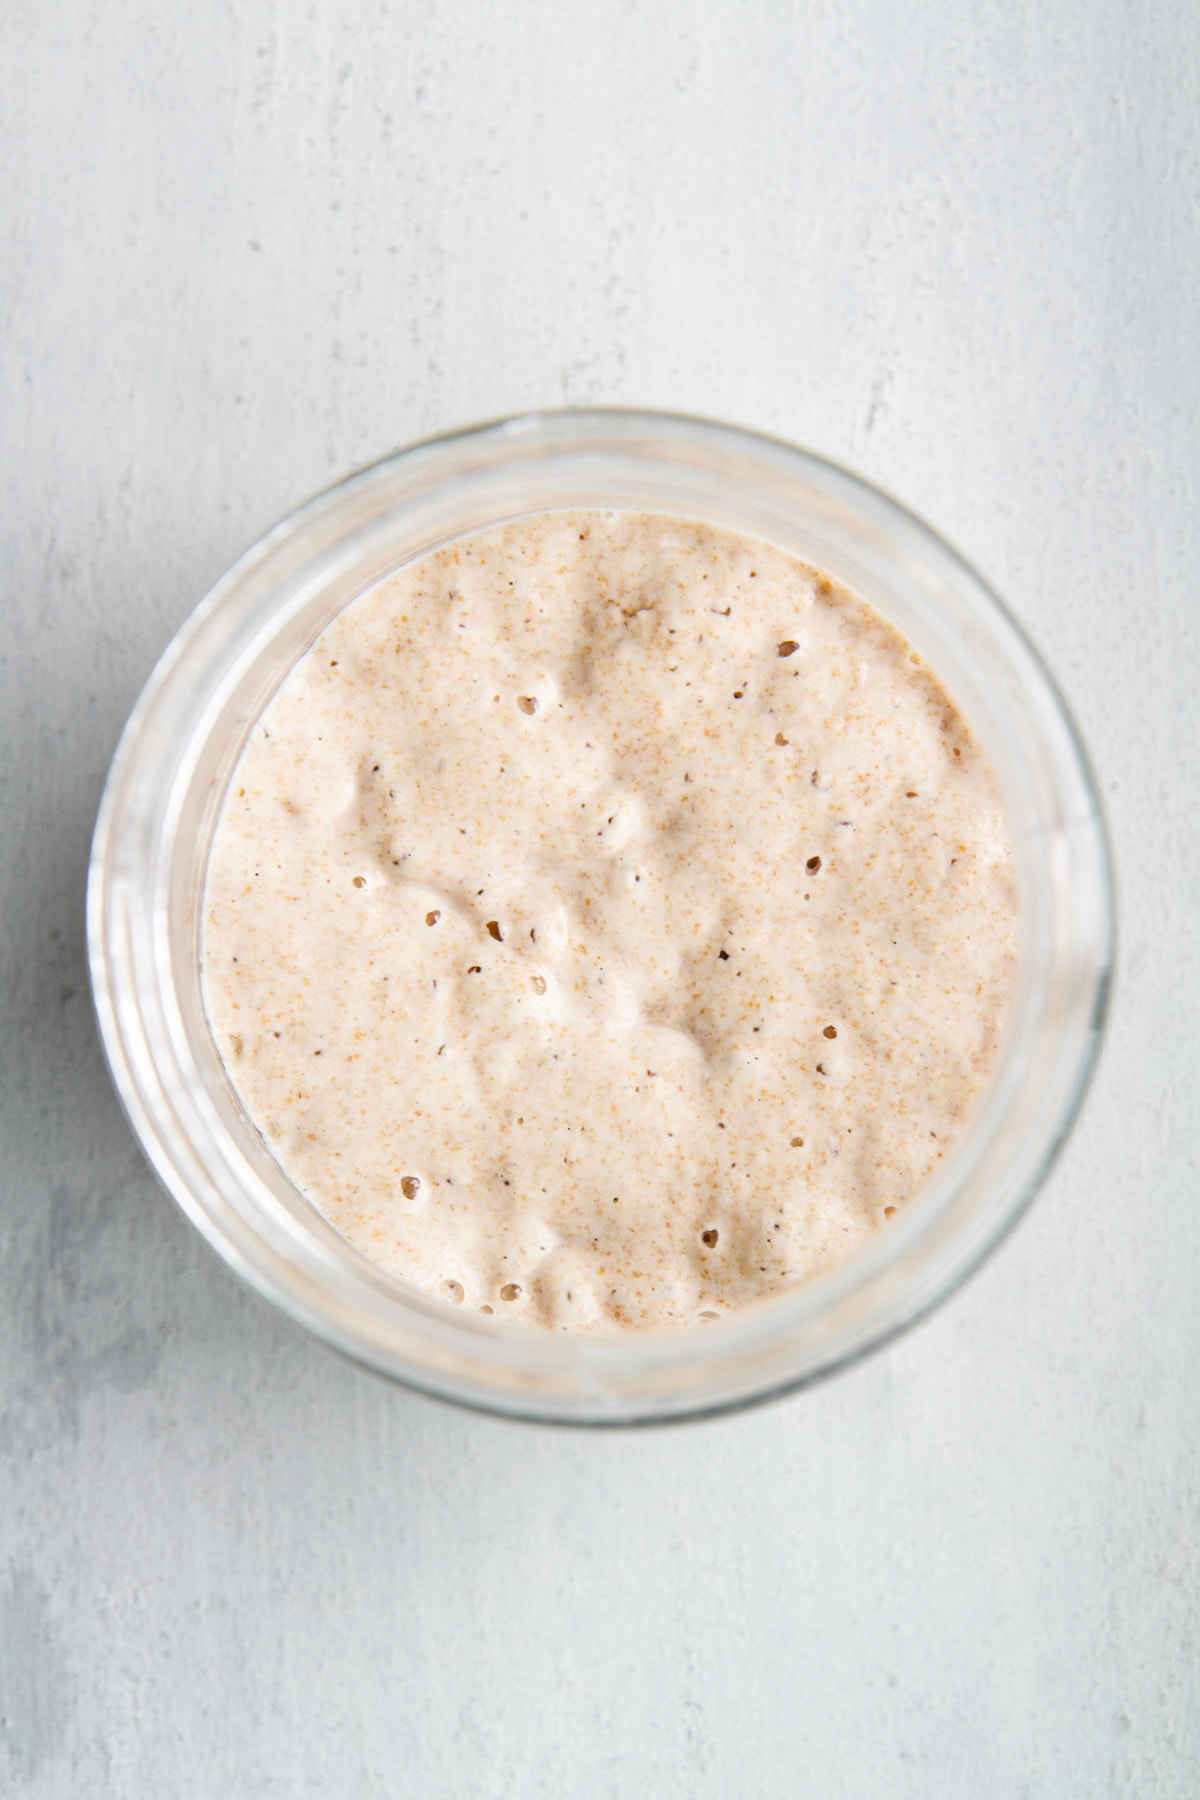
DAY FIVE
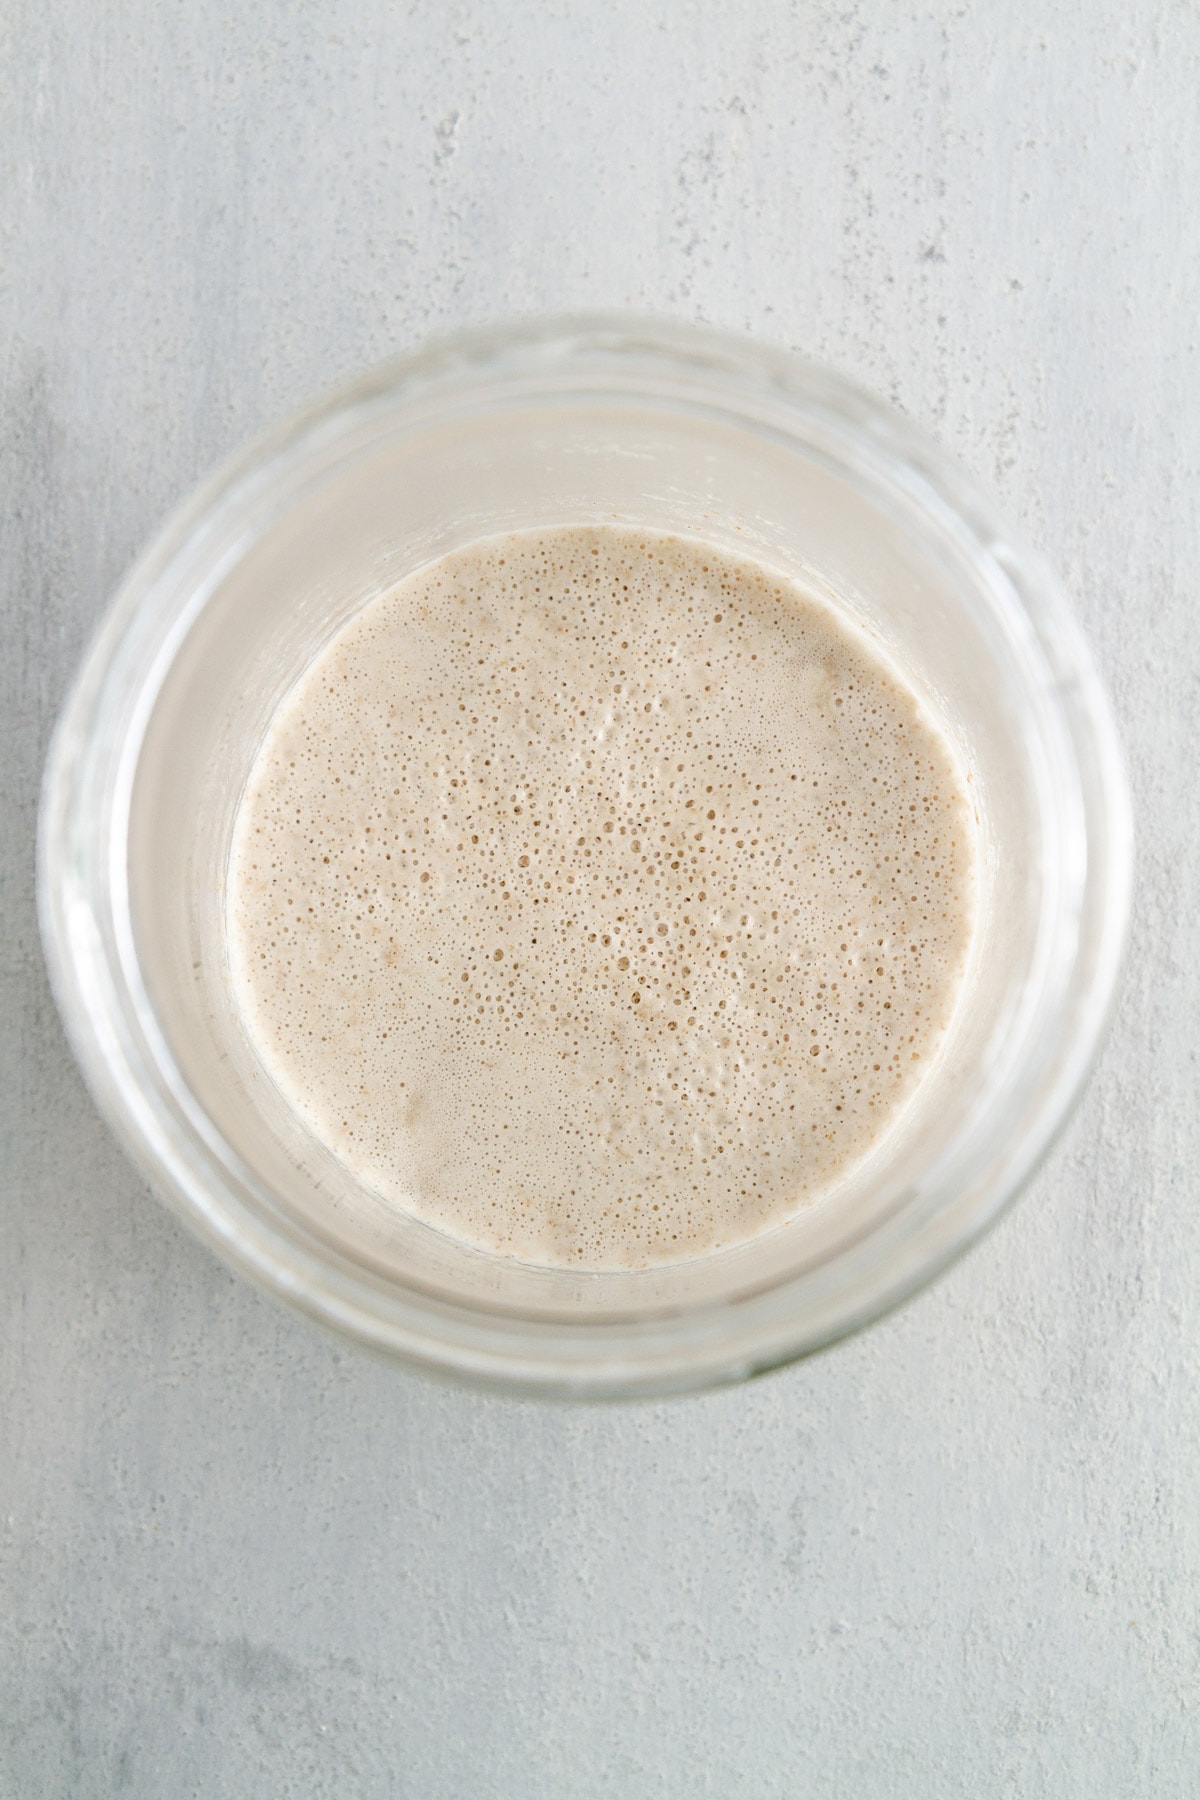
Today we should start seeing some serious activity in our starter — lots of bubbles, a slight sour smell, maybe even a little rise and fall. Again, if you don’t, do not panic. It’ll happen!
In the morning, place a clean starter jar on a kitchen scale. Tare the weight so it reads “0”, then to the jar add 75g of your starter, 50g whole wheat flour, 50g all-purpose flour and 125g distilled water at room temperature. Stir the mixture vigorously with a spatula until no dry bits of flour remain. Cover the starter jar loosely with a lid, and place somewhere warm for 12 hours. Discard your excess starter.
In the evening, repeat the process exactly as written above.
DAY SIX
I don’t have photos of this day because my starter basically looks identical to the way it did on day five. Let’s keep feeding!
In the morning, place a clean starter jar on a kitchen scale. Tare the weight so it reads “0”, then to the jar add 75g of your starter, 50g whole wheat flour, 50g all-purpose flour and 125g distilled water at room temperature. Stir the mixture vigorously with a spatula until no dry bits of flour remain. Cover the starter jar loosely with a lid, and place somewhere warm for 12 hours. Discard your excess starter.
In the evening, repeat the process exactly as written above.
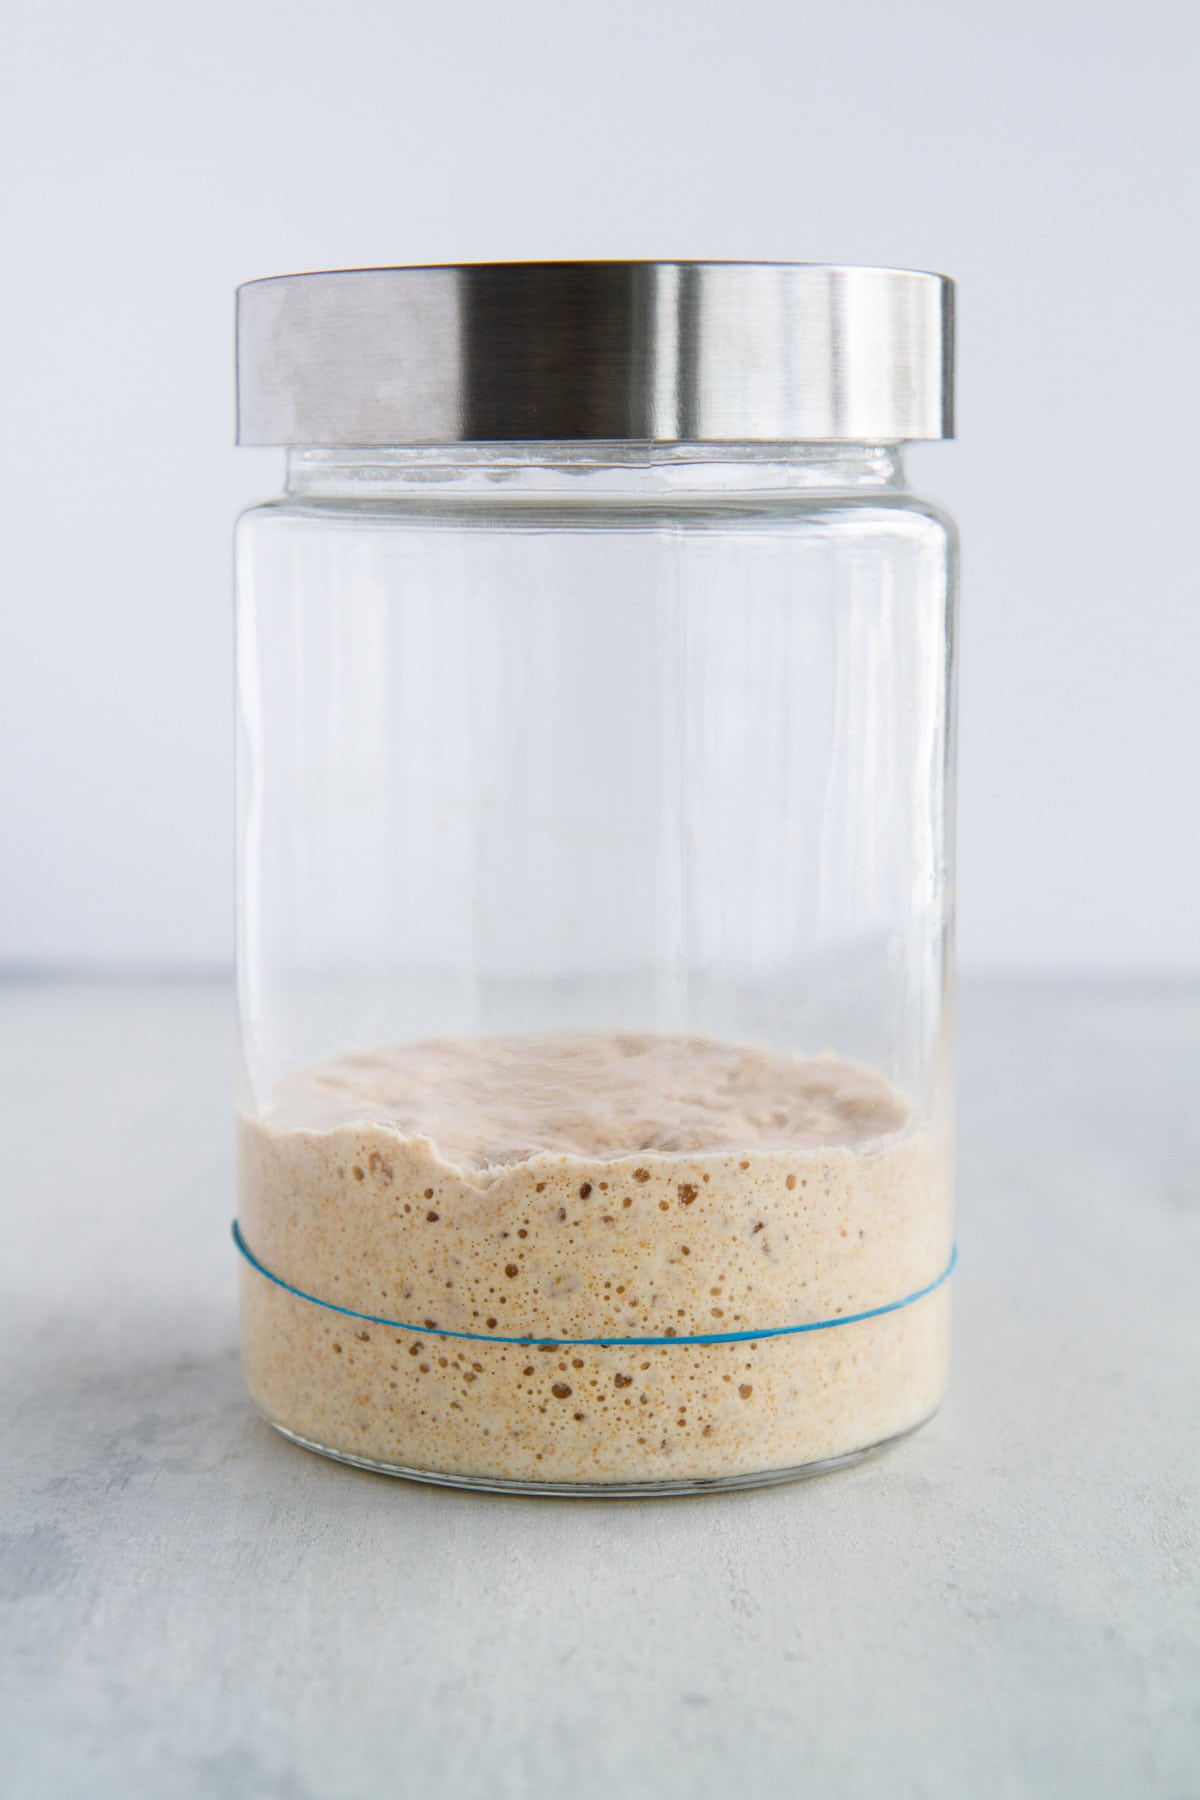
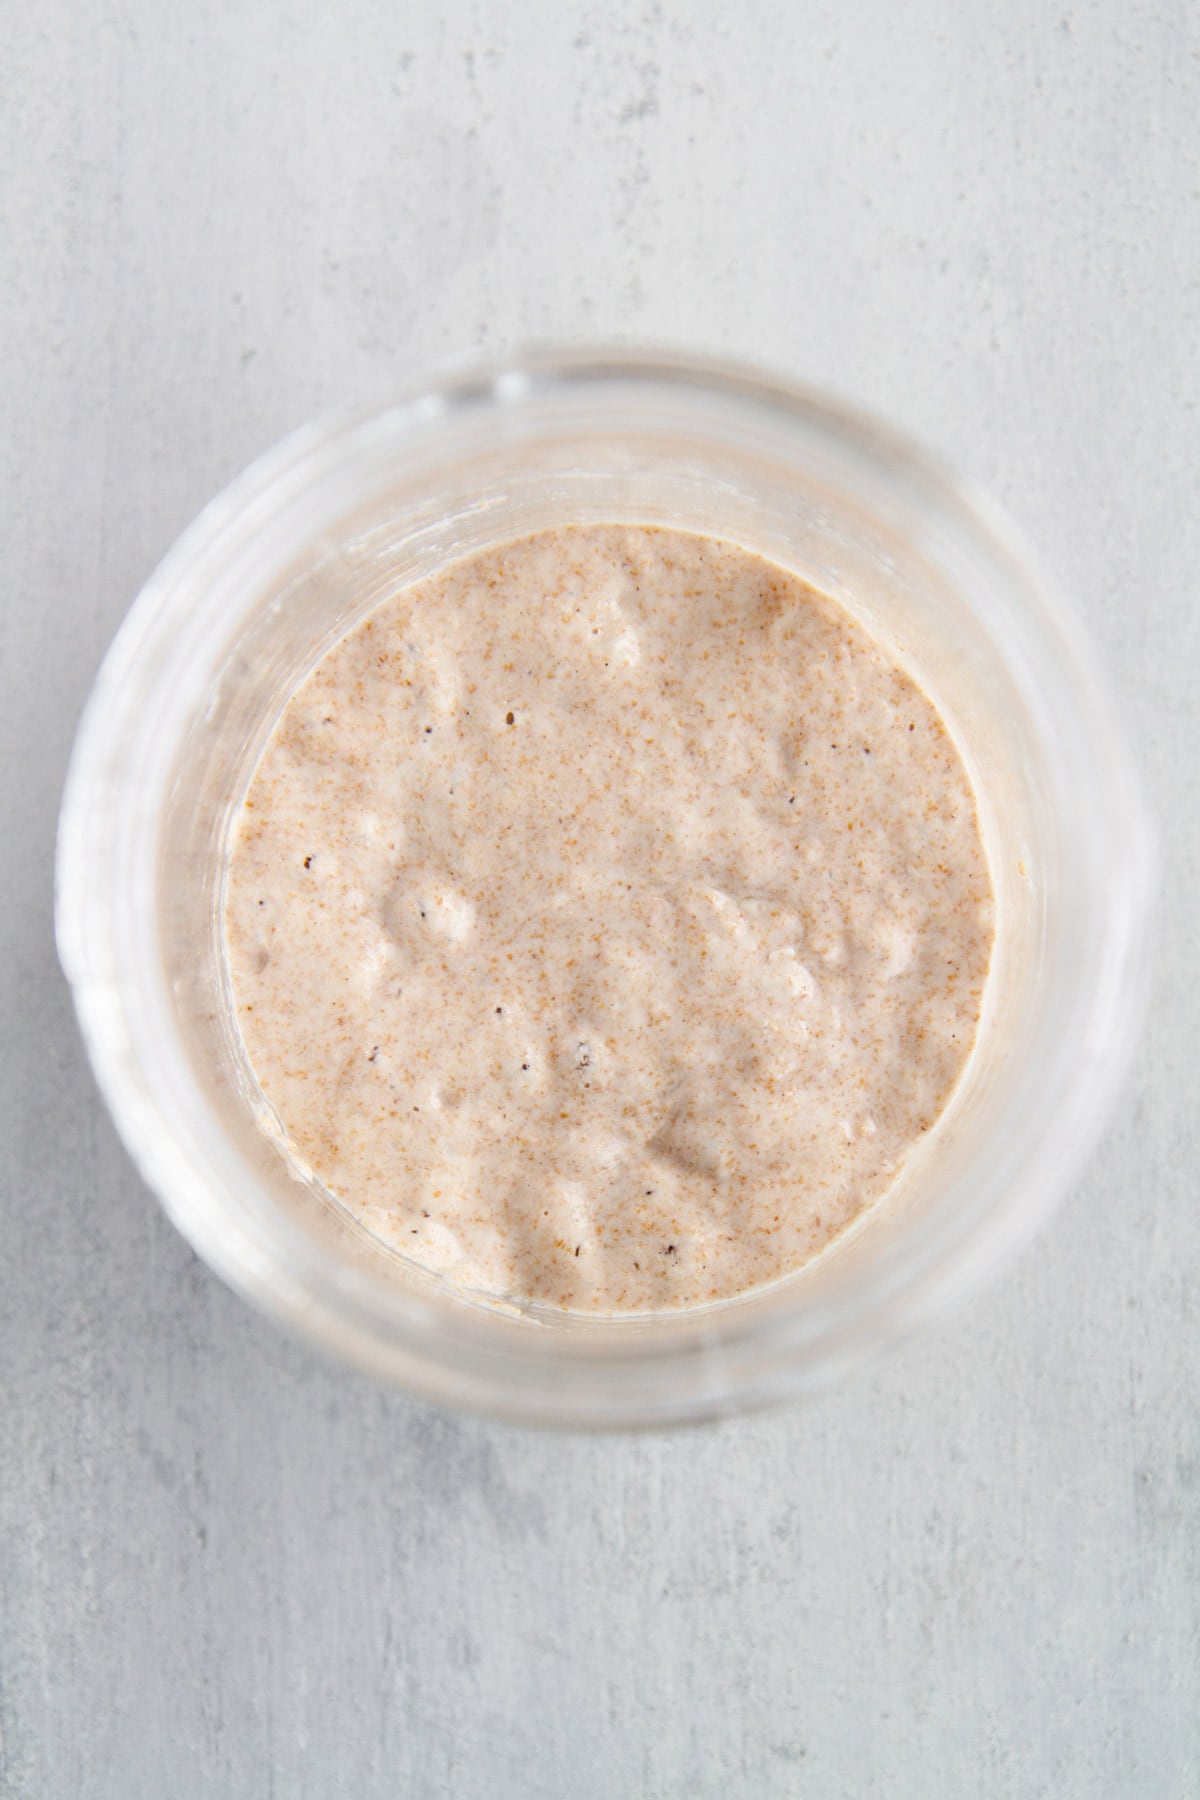
DAY SEVEN
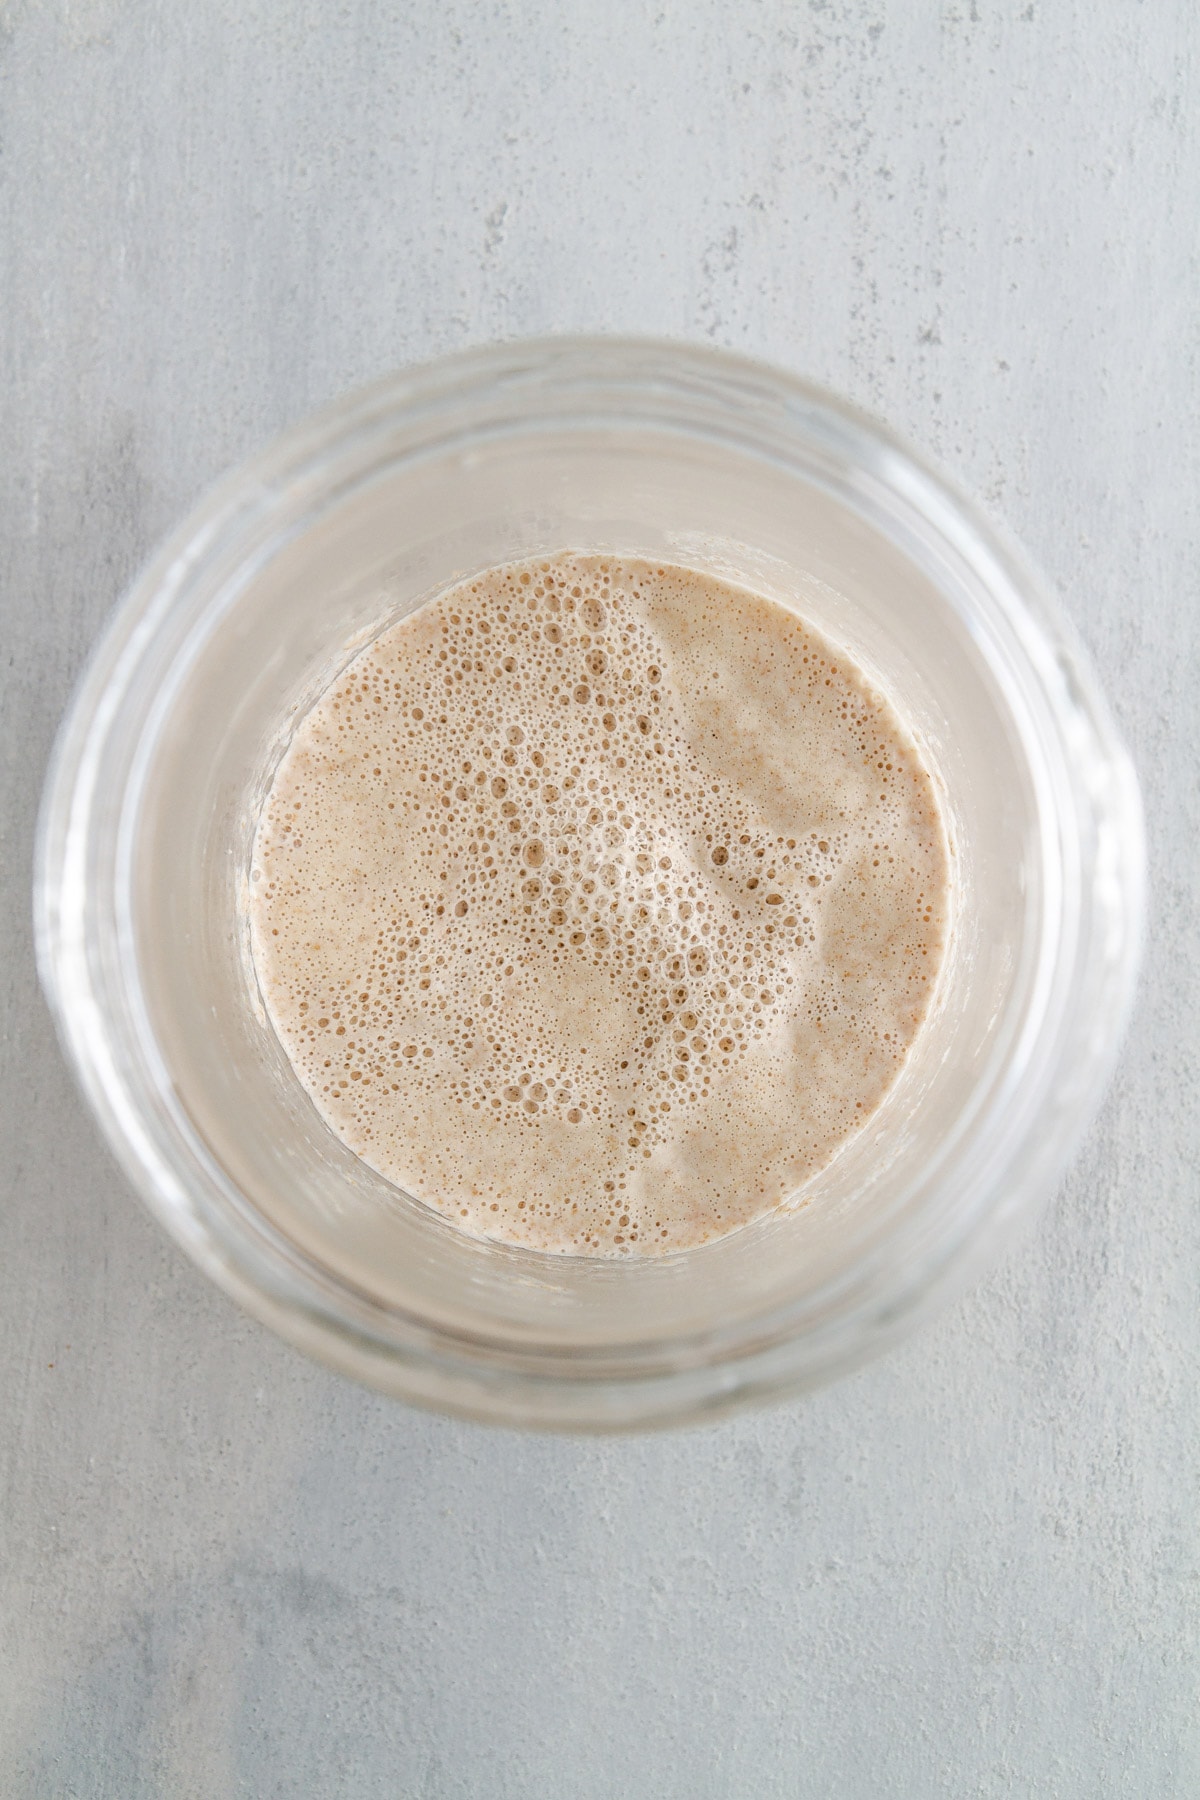
OK, friends. Here is where the magic happens. Today, or maybe in a few days, or maybe even a week from now, you should start to see your starter pick up activity. What this means — there are bubbles all throughout the starter; it smells sour but in a fresh, wheat-y way and not in a pungent, off-putting way; it rises and falls predictably (usually a starter rises over the course of 10-12 hours, then plateaus for an hour or two, then begins to fall. You want to aim to feed it at its peak, just before or just after it begins falling). All of these are signs that we have a mature starter.
In the morning, place a clean starter jar on a kitchen scale. Tare the weight so it reads “0”, then to the jar add 50g of your starter, 50g whole wheat flour, 50g all-purpose flour and 100g distilled water at room temperature. Stir the mixture vigorously with a spatula until no dry bits of flour remain. Cover the starter jar loosely with a lid, and place somewhere warm for 12 hours. Discard your excess starter.
In the evening, repeat the process exactly as written above.
DAYS EIGHT AND BEYOND
Today is a big day. Today, you’re either staring at a mature, ready-to-bake-with starter, or you’re staring at a starter that still needs some love. If the latter is your case, DO NOT FRET. I’ve been there, and I promise you with a little bit of time, patience and TLC, your beloved starter will get its act together.
IF YOUR STARTER IS RISING AND FALLING PREDICTABLY at this point, follow this schedule: In the morning, place a clean starter jar on a kitchen scale. Tare the weight so it reads “0”, then to the jar add 20g of your starter, 50g whole wheat flour, 50g all-purpose flour and 100g distilled water at room temperature. Stir the mixture vigorously with a spatula until no dry bits of flour remain. Cover the starter jar loosely with a lid, and place somewhere warm for 12 hours. Discard your excess starter.
In the evening, repeat the process exactly as written above.
At this point, you can continue to feed your starter in this exact way, twice a day, until you’re ready to bake. We’ll talk next week about storing your starter in the fridge for a week so you don’t have to give it such constant attention!
IF YOUR STARTER IS NOT YET RISING AND FALLING PREDICTABLY at this point, follow this schedule: In the morning, place a clean starter jar on a kitchen scale. Tare the weight so it reads “0”, then to the jar add 50g of your starter, 50g whole wheat flour, 50g all-purpose flour and 100g distilled water at room temperature. Stir the mixture vigorously with a spatula until no dry bits of flour remain. Cover the starter jar loosely with a lid, and place somewhere warm for 12 hours. Discard your excess starter.
In the evening, repeat the process exactly as written above. Continue to feed your starter in this exact way, twice a day, until you begin to see it rise and fall predictably each day (again, ideally reaching its peak at 10-12 hours so you can feed it at its peak). Once you see that happen, start feeding it in the above method (with 20g starter) until you’re ready to bake.
As promised, below is the free printable starter feeding schedule. Print it out, place it on your fridge or tape it to the inside of a cabinet, and use it as an easy reference for bringing your starter to life.
DOWNLOAD THE FREE PRINTABLE SOURDOUGH STARTER FEEDING SCHEDULE HERE
OK, that was a short novel. I hope this was helpful to you! As always, refer to the previous posts in this series for more information and be sure to share your own sourdough journey with #GVDsourdough — I would LOVE to see what you’re up to (and what you’ve named your starter, obviously). Finally, if you have any questions, please leave them in the comments below, e-mail me, or send me a message on Instagram or Facebook.
Finally, a huge thank you to The Perfect Loaf for helping me develop my starter. This method is adapted from the method he shares on his blog.
READY TO BAKE? Here’s the next post: How to Make My Favorite Sourdough Bread Recipe.
Your recipe———grams!! This is the USA and we only know cups, tbs, tsp,
et/al. What you have listed is of no help
Darryl Anne, for a starter we use weight, and grams are the best measurement for this no matter what country you’re from. If you use a kitchen scale as I highly recommend, you can use the “grams” measurement on it and it’s very easy to do. Cups/tbsp/tsp won’t help you in the case of a sourdough starter or bread as we need to be as precise as possible. Thanks!
LOOK IT UP! PLENTY OF CONVERSION TABLES AVAILABLE.
When you say, “This is the USA,” do you mean your house? The internet is not the USA, even though we like to think it is. I’m in the U.S., and I use a scale as needed, because most decent baking recipes that need any precision use grams, etc.
Wow you are rude. Get a scale then, or better yet, educate yourself! Btw, baking when done by weight is almost always fool proof and the end result is better.
If you were any kind of baker you should know that metric measurements are accurate where as imperial measurements are not. The USA is the only country that does not use metric as a standard. that’s the main reason recipes come to less than desired (or completely fail). Get a scale (they are relatively cheap) and get with the program!
Mike, What a beacon of positivity you are! I am the new owner and I happen to be a professional pastry chef in Manhattan. I do agree that using a scale is the most accurate way to bake, but many home cooks in the States still use volume measurements. For a recipe like this one, it is pretty low-stakes, so I wouldn’t stress too much about it. Happy baking (and ranting) ~Lindsey
If we’re not getting a consistent rise on day 7 do we still start doing the 50/50/50/100 or still with the 75/50/50/125? Day 7 is tomorrow for me and I’m not getting much rise yet but it’s definitely bubbling a bit and has a nice funky smell to it.
Hi Kayleigh, I believe I answered your question on Instagram but to share with others on here — if you’ve made it to day 7 and you’re still not getting a good rise, start feeding it 50/50/50/100 and continue to do so twice a day until you see activity pick up, which it should within the next week. Are you seeing any growth at all, or perhaps a little liquid forming on top (aka “hooch”)? If so, I’d suggest putting your starter in a warmer spot of your home, like the oven with the light turned on. Hope this helps!
Oh dear, I am on Day 7 today and no rising at all. I’ve only had a couple of bubbles over the past few days, but its never risen above my rubber band line. Smells good etc. Maybe mine is just slow going…??? Thanks for any ideas.
Pam, Give it more time! Some starters are slower to rise. If you follow the directions, it should get there soon.
This is super helpful!!!! I tried the Tartine method a couple of years ago with no luck—I’m looking forward to starting again in the next few weeks with your helpful info!!! Thanks so much!
Britton — Thank you so much! I hope you enjoy making another starter this way! 🙂
Forgive me, I am new to this all. Why do you discard part of your starter each time?
Jaime, You need to discard part of the starter each time so that you have the correct ratio of starter:fresh flour + water for it to feed and grow. It also helps keep the overall amount of starter you have at any given time down. I’m hoping to have a few recipes in the near future that incorporate discarded starter so there’s less waste!
Hello, I have a question, why after 8 day ,when our starter fall and down particatibly, we should wait and feed the starter twice a day again one week??!!and don’t put starter in the fridge?
Ameneh, You certainly can put the starter in the fridge after day 8 if you don’t plan to use it right away! I prefer with a new starter to give it plenty of time outside of the fridge to develop so it can handle long-term cold storage better. It’s your call!
Hello,after putting starter in the fridge, how should we feed it and how much?
Ameneh, Once you put the starter in the fridge, you should take it out once every 1-2 weeks and feed it twice a day, about 12 hours apart, by doing the following: To a clean jar, add 20-30g starter, 100g water, 100g flour. Stir it thoroughly, cover loosely and let it rest at room temperature (between 73-78 degrees F is ideal). After a few days, once it seems lively again, you can get it ready for another week or two of fridge storage by doing the following: To a clean jar, add 20g starter, 80g water, 100g flour. Stir it thoroughly, cover loosely and let it rest at room temperature for about 1 hour. Then, store in the fridge. Hope that helps!
Hello,after this you said,just once every week feed it 20 starter, 80 water and 100 flour is ok, when I wasn’t cook bread,?this amount can not change?l means this amount is fix?and l can’t increas or decrease it??and when I want bake bread,as receipe amount use starter,and feed again half that amount flour and half that water?
Excuse me,,another question, every week after feeding starter, the jar must rest a few hours at room temperature, and then put in the fridge?
Now my starter in the fridge after one week doesn’t have much bobble!is it ok?
Ameneh, Once every week, take it out of the fridge and combine 20-30g starter + 100g water + 100g flour every 12 hours for about 2-3 days, then for the very last feeding before placing it back in the fridge for another week, feed it 15-20g starter + 80g water + 100g flour. It will not rise or bubble much at all in the fridge since it’s “dormant,” but that’s OK. Feel free to increase/decrease feedings and amounts based on your own experience and experimentation — this is just what works best for me! Hope that helps!
Hello Stephanie
It is now 11 days that I have making sourdough starter it rise and fall and it’s 3 days that I feed it 20 g starter 100 g water and 100 flour, but it just increases 2 times not 3 times.how many days should i feed it until it increases 3 times to put it in fridge?whether or not this has anything to do with flour ?or anything else?
Thank you for replying
Ameneh, I’m sorry, I’m not exactly sure what you’re asking about here. But if you follow the recipe exactly as written above, plus read the other posts in this series, I have answers to a lot of common questions for the sourdough process!
Pingback: Sourdough Banana Bran Muffins - The Wholesome Kitchen
GVD! This is so clear and easy to follow. I’ve been “waking up” my starter after a month of neglect, and he’s starting to rise and fall predictably. It’s extremely exciting and pleasantly distracting right now. Thanks for your good work!!
AnnieBananie, Thanks girl! 😉
Stephanie you are amazing! Love, love, LOVE your blog! Thank you for this recipe! Now that I’m working from home indefinitely (:S) I have time to finally do this! It’s my first time attempting starter and so far it’s been working really well. By day three I had amazing bubbles and rise! I’m now on day 5 and I’m starting to save the discard for your delish pancakes and blueberry muffins… I placed the jar on top of our radiator and the temp has been perfect!
Anyways, thank you again. I posted a photo to facebook. P.S. My awesome starter is named ‘Jack Torrence”. Seemed appropriate given the current situation. I hope Lucille III is doing well (love that lol!). Kat
Kat, Thank you so much for your sweet words! I LOVE the name of your starter, lol, and I’m glad he’s doing so well! Lucille III is alive and kickin’ over here, too. Best of luck on your sourdough journey!
Can you do the starter with just unbleached AP flour? Is there a reason you use whole wheat as well? I’m limited on suppplies!
Sydney, Yes! You can use basically any flour, as long as you keep the amount consistent for each feeding.
Hi! So today is day 6, and oddly enough, my starter (Doughsef) doubles in size on days 1 and 2! I thought about feeding it twice then, and probably should have, since I’ve seen barely any growth since… some hooch but not growing in size… any thoughts there? Should I start again and feed it more often when it’s growing like that, regardless of the day, or keep going now and hope for the best? I was so surprised those first few days, and since it’s my first go, I had no idea what to do! Lol, there was a considerable amount of liquid under neath the starter, could it have already been passing the float test?
Jessica, First of all, LOVE the name of your starter! 😉 Second, it’s actually quite common for a new starter to surge in growth in the first 1-2 days, and then taper off for a bit. It sounds like that’s what happened to Doughsef. It’s also completely normal for it to not show much growth in the following days (3-8+). Continue on the feeding schedule as written and you’ll eventually see a predictable rise and fall and bubbles throughout — that’s when you know it’s ready for baking! It could take up to 2+ weeks, so patience is key!
You were right, of course! I kept at it and day 8, I felt comfortable. I used the girlvsdough recipe for a sourdough boule and it was perfect!! I had Doughsef in the fridge for a week since so now I’m going to a little feeding and see if it works to hold me until next week, then I’ll feed again and hope to bake again for Mother’s Day. Thank you for all the tips, tricks, recipes and photos – so, so helpful!!!
Hi! I’m just curious, when you say you need a fresh starter jar each time, why is that? Do you not just add discard the excess and put the new food in the same jar? How many different jars do I need to have for the process? Thank you!
Shelby, You just need two jars — one to put the starter + new flour and water, and the other will hold the excess starter. Some people take out the excess starter and just add the new flour + water to the existing jar, and that works, too! I just find it cleaner/easier to scoop out what I need into a new jar. Hope that helps!
Hi! Love ur blog and the amazing explanation!
I do have a temperature question , its always pretty cold in my house, cause my family hates it being too warm. So its 68-70f.
I tried the oven method, but somehow it’s way too warm there with lights on – 85-90 f.
Will this ruin the starter?
Aly, You could try to put it in the oven with the light off, or leave the light on for an hour or two and then turn it off to try to make a slightly warmer, but not too warm, environment. I’ve also put my starter in the microwave with the door closed as a place that’s not too cold, not too warm.